#NOTWorthIt

IMG_6420.jpg

While I don't begrudge certain young celebrities for their endorsement power, it's frustrating when young, impressionable girls go to great, and sometimes harmful, lengths to look like said starlets.  Such is the case with the #KylieJennerLipChallege, where you use a shot glass and suction to plump your lips.

FullSizeRender

And, like any trend, full, pouty lips have become the biggest craze since strobing or full brows.  While I've discussed how to make your lips appear larger with makeup, that method takes quite a bit of time and requires several touch-ups.

So I tried a lip-plumping tool, which I Instagrammed (@ElectraLane) several weeks ago:

image1 (1)

Since then, I've tried using this device, which declares that it not only plumps your lips but works out the muscles around your mouth to reduce smile lines.  It did neither.

In fact, the last time I used it, it actually bruised my lips:

ouch.

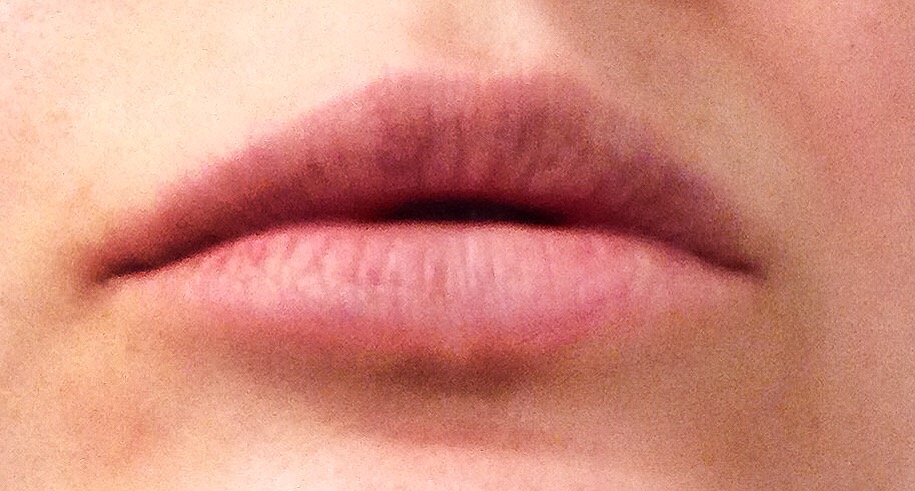
The lighting isn't great, but IRL it looked like I had just downed a few glasses of red wine.

So, short of fillers or implants, what's a good solution that doesn't take 38 steps or a PhD in makeup?

SHADING.

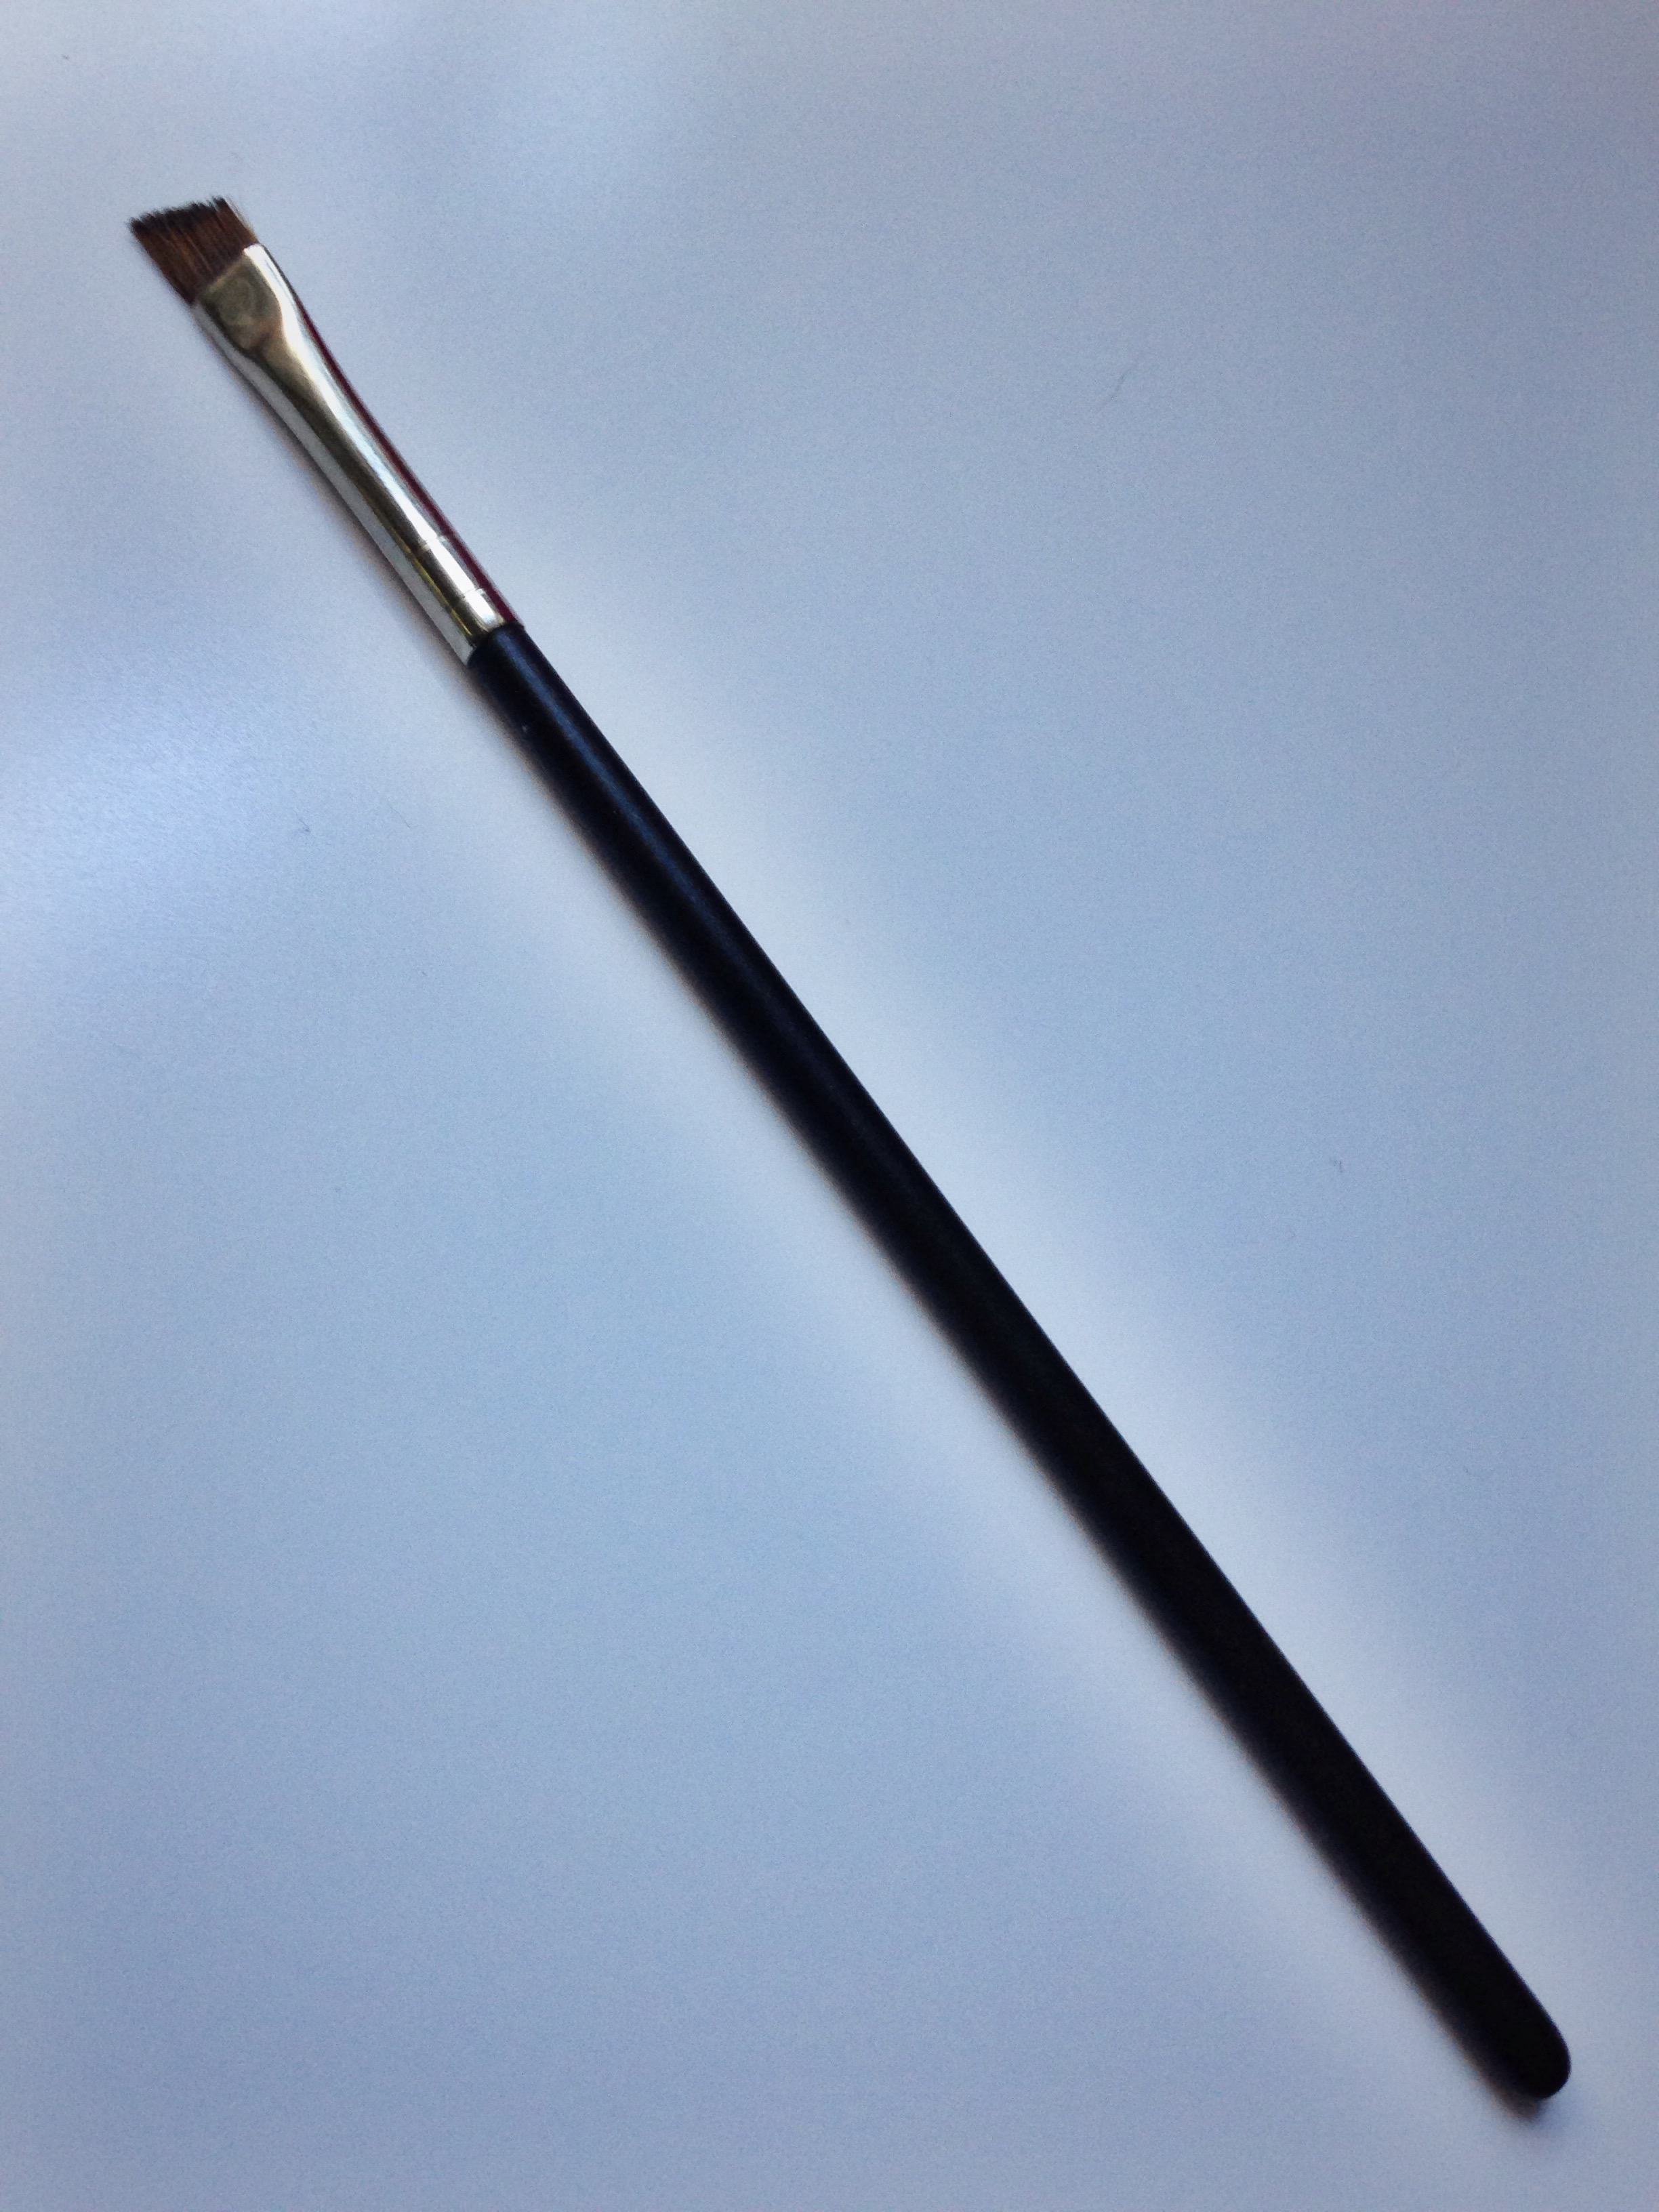
Shading is like contouring in that it crates shadows, but it's far less involved.  I've created a quick instructional video, but basically, you line your lips with bronzer.  It takes a little practice and the right product shade, but because it's powder, it stays on and looks far more natural than a lip liner.

Let's be honest - our lips are just fine the way they are.  But, if you do want to give the illusion of fuller lips like I often do, I hope you give shading a chance.  The other options simply are #NOTWorthIt.

Trick or Treat (Yo Self)

image1-2.jpg

This weekend is HALLOWEEEEEEEN! As noted last year, I'm not the type who gets all fancy with the makeups on Halloween - some glitter and fake lashes make me happy.  I love Halloween because it's the official start of the Holiday Season, and I couldn't be more excited.

This year, I'll be a ballerina princess for two reasons: 1) who needs an excuse to dress up like a ballerina princess? and 2) I've been working with an amazing organization, called The Tutu Project, that helps men and women offset the costs associated with fighting breast cancer that aren't covered by insurance.  What's so remarkable about this organization is that one of the co-founders is still undergoing breast cancer treatment herself.  Check out the website and, if you feel compelled to donate (even $1 helps!), you can do that HERE.

And to see the ballerina princess makeup, be sure to follow me on Snapchat, Instagram, and Facebook, all under ElectraLane!

So on to the tricks...

While I may not get all into Halloween glam, here are some videos showing those who do:

  1. Kandee Johnson's Edward Scissorhands, Marilyn Monroe Painting, and all of her Everyday Disney Princesses are incredible inspirations, as well as her ideas for kids' costumes
  2. Byrdie.com rounded up three lovely tutorials by MAC makeup artists
  3. My favorite looks are those from makeup artist Shonagh Scott's #HappilyNeverAfter series.  You can follow her on Insta @ShowMeMakeup.

Finally, you should treat yourself to the new NARS Audacious Mascara.  It's the best mascara ever.  While in NYC, I stopped by the NARS store to pick up a tube, but they were sold out (because it's that good).  So the lady gave me a sample tube.

And it's mind-blowing.  You can see a demo HERE.

It's super black.  It coats every. single. lash.  It doesn't flake.  My lashes are still soft.  It's buildable without getting gunk-y or clumpy.  It's incredibly lengthening.  And, this is really important, when you're ready to remove it, it slides right off.  Perfection.

I hope you have a fun and safe Halloween!

31st Birthday Recap

image1.jpg

I don't know if it will be possible to top 31. This has been a very trying year personally, but I truly believe that you have to go through some bad stuff to get to the good stuff - otherwise, you're stuck in the same place forever.  And even though change is hard and scary, being comfortable never wins any awards.

He knows me well...

Not only did my husband go out of his way to make this birthday special, but we worked in time to pause and soak up each experience.  This included a trip to NYC, drinking really good coffee in beautiful parks, and two amazing concerts from my favorite band, Hanson (yes, as in Mmmbop...they've put out 5 studio albums since then and they are incredible!).

12-hour makeup.

For my makeup, I went with the exact eye makeup from Monika Blunder's Kate Moss tutorial.  As you can see from the (poor quality...sorry) photo, my under-eye bags let you know it's late - but thankfully I've learned some tips for making foundation look great 12+ hours (a video will be out soon).

Being in my favorite place, with my favorite person, eating my favorite foods, during my favorite time of year, and listening to my favorite band play my favorite songs added up to be a completely epic experience.  I'm looking forward to 31.


Technique Class - Eyeliner

IMG_5276.jpg

I had a client with very mature skin and, as we were chatting, she announced that she had never learned how to put on eyeliner.  While some people skip this step, eyeliner is one of my top three makeup products because it makes your eyes look larger and more defined, and makes lashes look thicker. In my opinion, the trifecta of eyeliner, mascara and brows negates the need for other eye makeup (or really any other makeup at all). When it comes to eyeliner, practice a little bit to see if you prefer to apply liner in pencil form or with a brush.  I feel I have better control with a pencil, but even so, I use a small brush to smudge the liner into my lash line afterwards.  My go-to for this is the Smashbox 20, but an excellent duplicate at an even better price ($3!) is the e.l.f. Studio Concealer Brush, available here.

Smashbox 20

If you have better control with a bush, you have quite a few options for liner: you can grab the pigment from a pencil, use a gel or liquid liner, or use a powder liner (or even an eye shadow).  My favorite liner brush is a run-of-the-mill angle brush:

 IMG_5322

To apply, either with a pencil or bush, I use small dashes from the outside corner of my eye to the middle, then go from the inside corner of my eye to the middle.  Then I connect everything either with the smudge brush if using a pencil, or, if using a brush, I go back over the line a few times to smoothe everything out.

For a wonderful, all-inclusive tutorial, check out the video below.  Happy lining!

Technique Class - The Outer Corner

IMG_5282.jpg

A dark, smoky outer corner of the eye lid is hugely popular right now. Not only does it add depth, but it can create an instant eye lift. But it's tricky to master.  My top three tips are to make sure the eye shadow you use is dark enough, to blend well using a clean bush, and to practice.

When it comes to application, make sure to use a small enough brush, smudge the color into a V on the outer corner, then tap the color to fill in the V.  Finally, blend the color inward with a clean brush.  If the color isn't dark enough, add more.  And if you blended the color in too much, just take a different brush with a pale color and sweep from the inner corner toward the outer corner.

Since it's difficult to explain, check out the video below for a demonstration.

YouTube

For another take, as well as a phenomenal tutorial for those with hooded eyelids, click HERE for a demo by Wayne Goss.