PSL-Insprired

IMG_4664.jpg

Yes, I went there. No, I do not like Starbuck's Pumpkin Spice Lattes.

Yes, I know that we're not officially even in the fall season.

But since everyone seems to have an opinion about the PSL - including a blogger who changed the recipe and a fellow grad school classmate completing a brilliant marketing project on the subject - I thought I'd share what makeup comes to mind when I think of the sickeningly sweet beverage (IMO...just saying).

For the skin, I kept it clean with tinted moisturizer, concealer, bronzer, and a bit of highlighter on my cheekbones.  For lips, I went with Whirl lip liner from MAC, NYX Cosmetics Butter Gloss in Creme Brulee, and a little dot of MAC's Sugarrimmed Dazzleglass gloss in the center of my lips.

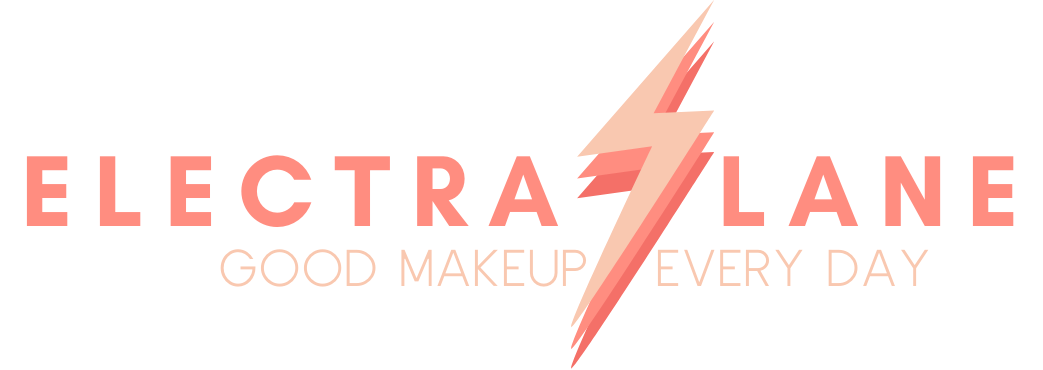
On my eyes, I started by prepping the entire lid with MAC's Soft Ochre Pro Longwear Paint Pot:

"The Milk"

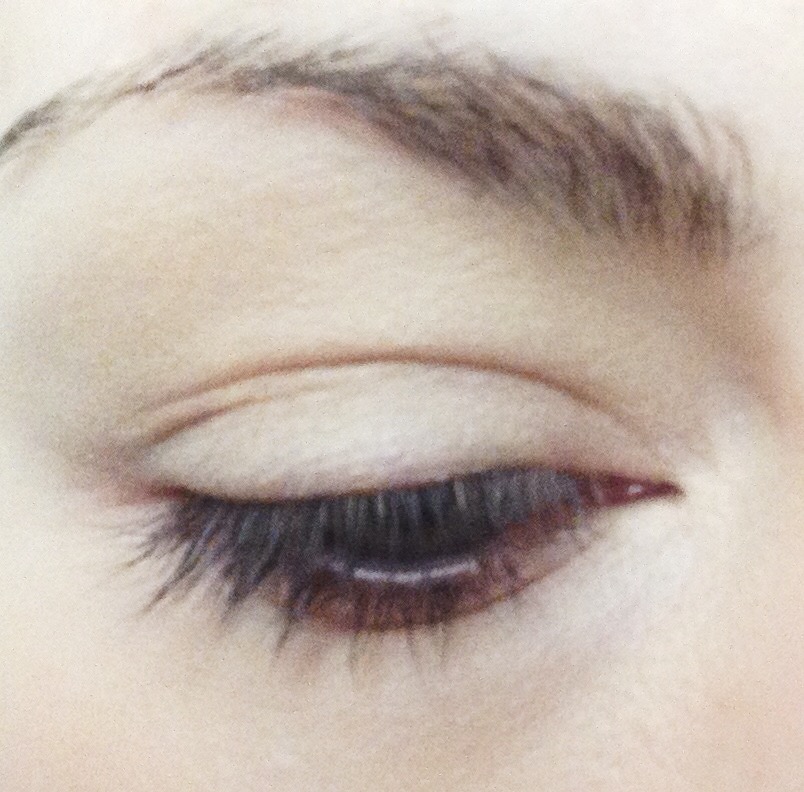
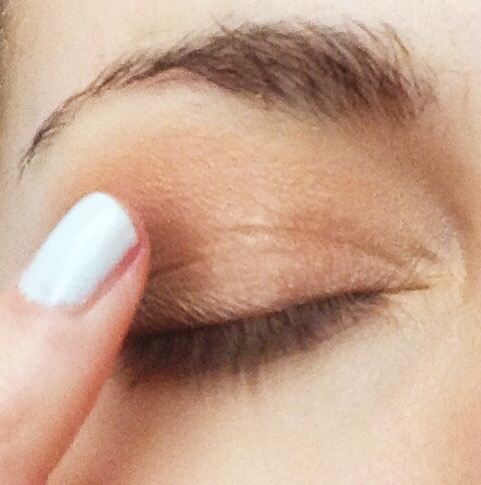
Next, I buffed MAC's Amber Lights shadow from the lash line into the crease:

"The Pumpkin"

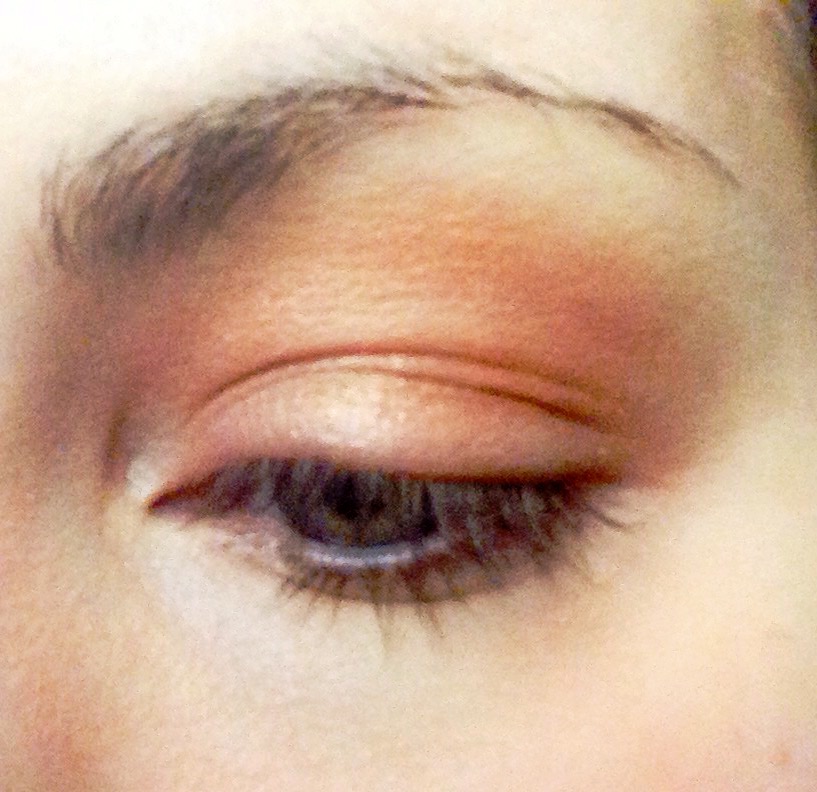
Then, I tapped Galapagos by NARS on the outer corners (blend well!) and under the bottom lash line:

"The Cinnamon"

Using my pinkie, I applied a bit of Cream from the Lorac Pro Palette to just the center of the lid and blended outward:

"The Whipped Cream"

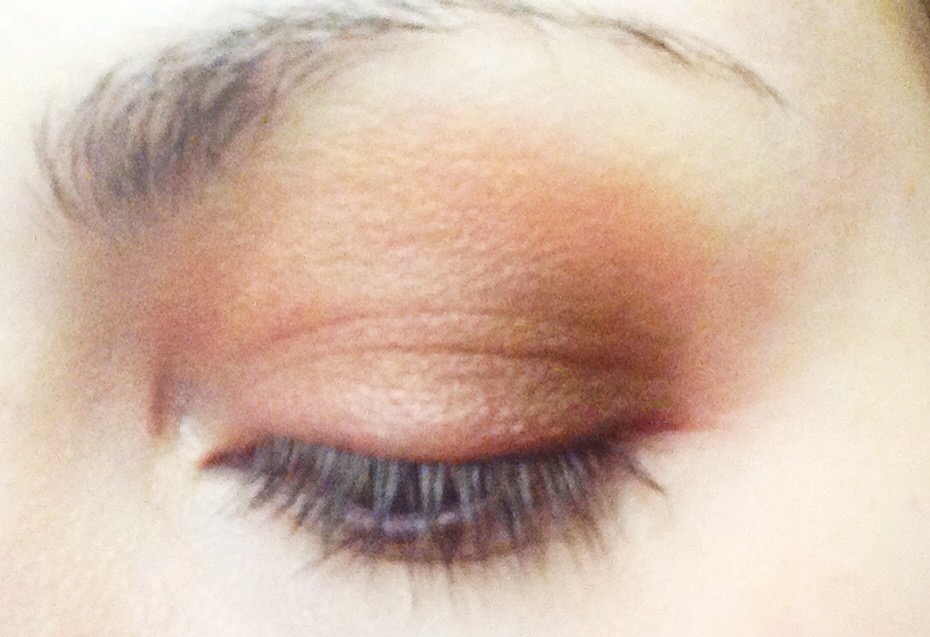
Finally, I lined the top lash line and bottom waterline with MAC's Coffee eye pencil ("The Coffee." Yes, I did.).

IMG_4654


Friday Flash ~ Episode Four

image1-1.jpg

With the unofficial close of summer upon us this weekend, I wanted to do one last, bronze-y look.  Happy (long) weekend!

YouTube

  1. Urban Decay shadows in Foxy all over, and Buck in the crease
  2. MAC Amber Lights on lid and Brown Script on the outer lid and bottom lash line
  3. NARS Galapagos on outer corners and bottom lash line
  4. MAC Coffee pencil on bottom water line and Smolder pencil on top lash line
  5. One coat of Estee Lauder Little Black Primer, one coat each of Illegal Length and Falsies, both by Maybelline and in Blackest Black
  6. Charlotte Tilbury Airbush Flawless Finish powder in Dark to contour face and nose, and Make Up For Ever Pro Bronze Fusion in 30M to bronze
  7. Amazing Cosmetics Amazing Concealer in Light Golden
  8. Mary Lou-Manizer by The Balm to illuminate
  9. NARS Biscayne Park Satin Lip Pencil and MAC Lustreglass in Instant Gold
  10. Urban Decay All Nighter setting spray

image1

Multiple Personalites

IMG_4558.jpg

Many people I know don't do a smokey eye every day. In fact, many people I know don't even wear eye shadow every day, and many don't wear daily makeup beyond mascara. Then why does seemingly every makeup "tutorial" show you how to get dramatic makeup?

I'll be the first to say that even "natural" makeup that lasts more than an hour takes around 12 products, so I get it. But the YouTube video crowd doesn't seem to cater to normal people who don't own 27 eye shadow palettes. (this is a big part of why I created Electra Lane).  I can't argue with millions of devoted followers, though, so I won't try.

What I will do is present as many real-life makeup situations as I can.  Like this one: you own two eye shadows, a lighter shade and a darker shade (if you have four-shadow palette, check this out).  And you feel stuck doing the same thing over and over, but you don't want to buy more makeup.

Here's the solution: think of those shadows as your Little Black Dress or white Oxford.  With a few accessories, you can have four different eye shadow looks.

#1 - Classic

Take your lighter shadow and sweep it all over the eye, from lash line to brow bone, with a large, fluffy brush.  Then, with a smaller brush, tap the darker shadow all over the lid.  Finally, blend the top edge of the darker shadow with the fluffy brush.

#2 - Big Eyes

Start the same way as the classic eye, but place the darker shadow in the crease instead.  Don't forget to blend gently.

#3 - Simple Smokey

Line your top and bottom lash line with a dark eye liner and smudge (with your finger, a cotton swab, or a smudge brush).  Top that liner with your darker shadow using a small brush.  With a fluffy brush, blend the lighter color starting on the brow bone and down into the darker color.

#4 - Dramatic

Do "Big Eyes."  Take an even darker shadow shade or eye liner, and place lightly in a sideways V in the outer corner of the eye.  Gently blend inward, then repeat if you want more depth.

If you need a visual, check out this video:

Shameless plug - if you want to take advantage of pro makeup tips, tailored to your wants and needs, with your own makeup video, email me: jessica@electralane.com

Friday Flash - Episode 3

IMG_4559.jpg

I do not like the way red lipstick looks on me.  At all.  But I know that it's many women's power color, so I wanted this Friday Flash to show just how to get it to stay on all night.  Happy weekend!

Product List:

Prep - Korres Lip Butter in Jasmine and Urban Decay Naked Skin Concealer in Light

Liner #1 - MAC Subculture

Lipstick - my own mix from the Le Maquiliage Professionl lip kit in R14

Lighter color for dimension - Anastasia Beverly Hills Liquid Lipstick in Pure Hollywood

Liner #2 - MAC Cherry

Best stuff ever: Lipchic Transparent Sealer for Lips (2 coats), available HERE and at Amazon.

Travel Hacks for Hacks

IMG_4465.jpg

No one has ever called me spontaneous, and I'm OK with that.  So when we decided to take a last-minute trip for that involves flying (read: literally thousands of dollars), we decided to try Spirit Airlines because the fare was so reasonable. The catch? The cost of your ticket only includes an unassigned seat and the ability to carry on a small purse or book bag. Since I'll use the zip-and-ship method for my clothes, I only have room for a little makeup bag and my TSA-approved clear pouch.  SO, for my top three makeup/beauty packing tips you hopefully haven't seen yet, click the video below.

Tip #1 (2:05) - Take advantage of free samples and their packaging

Tip #2 (3:10) - Pack products that do double duty

Tip #3 (5:25) - Think outside the box when it comes to palettes

*Bonus Tip* at 6:40

If you have any other tips, please share them on Facebook or Instagram (@electralane) - I need all the help I can get.  Happy travels.