Tips and Tricks

Master Class with Melanie Mills

IMG_1784-1.jpg

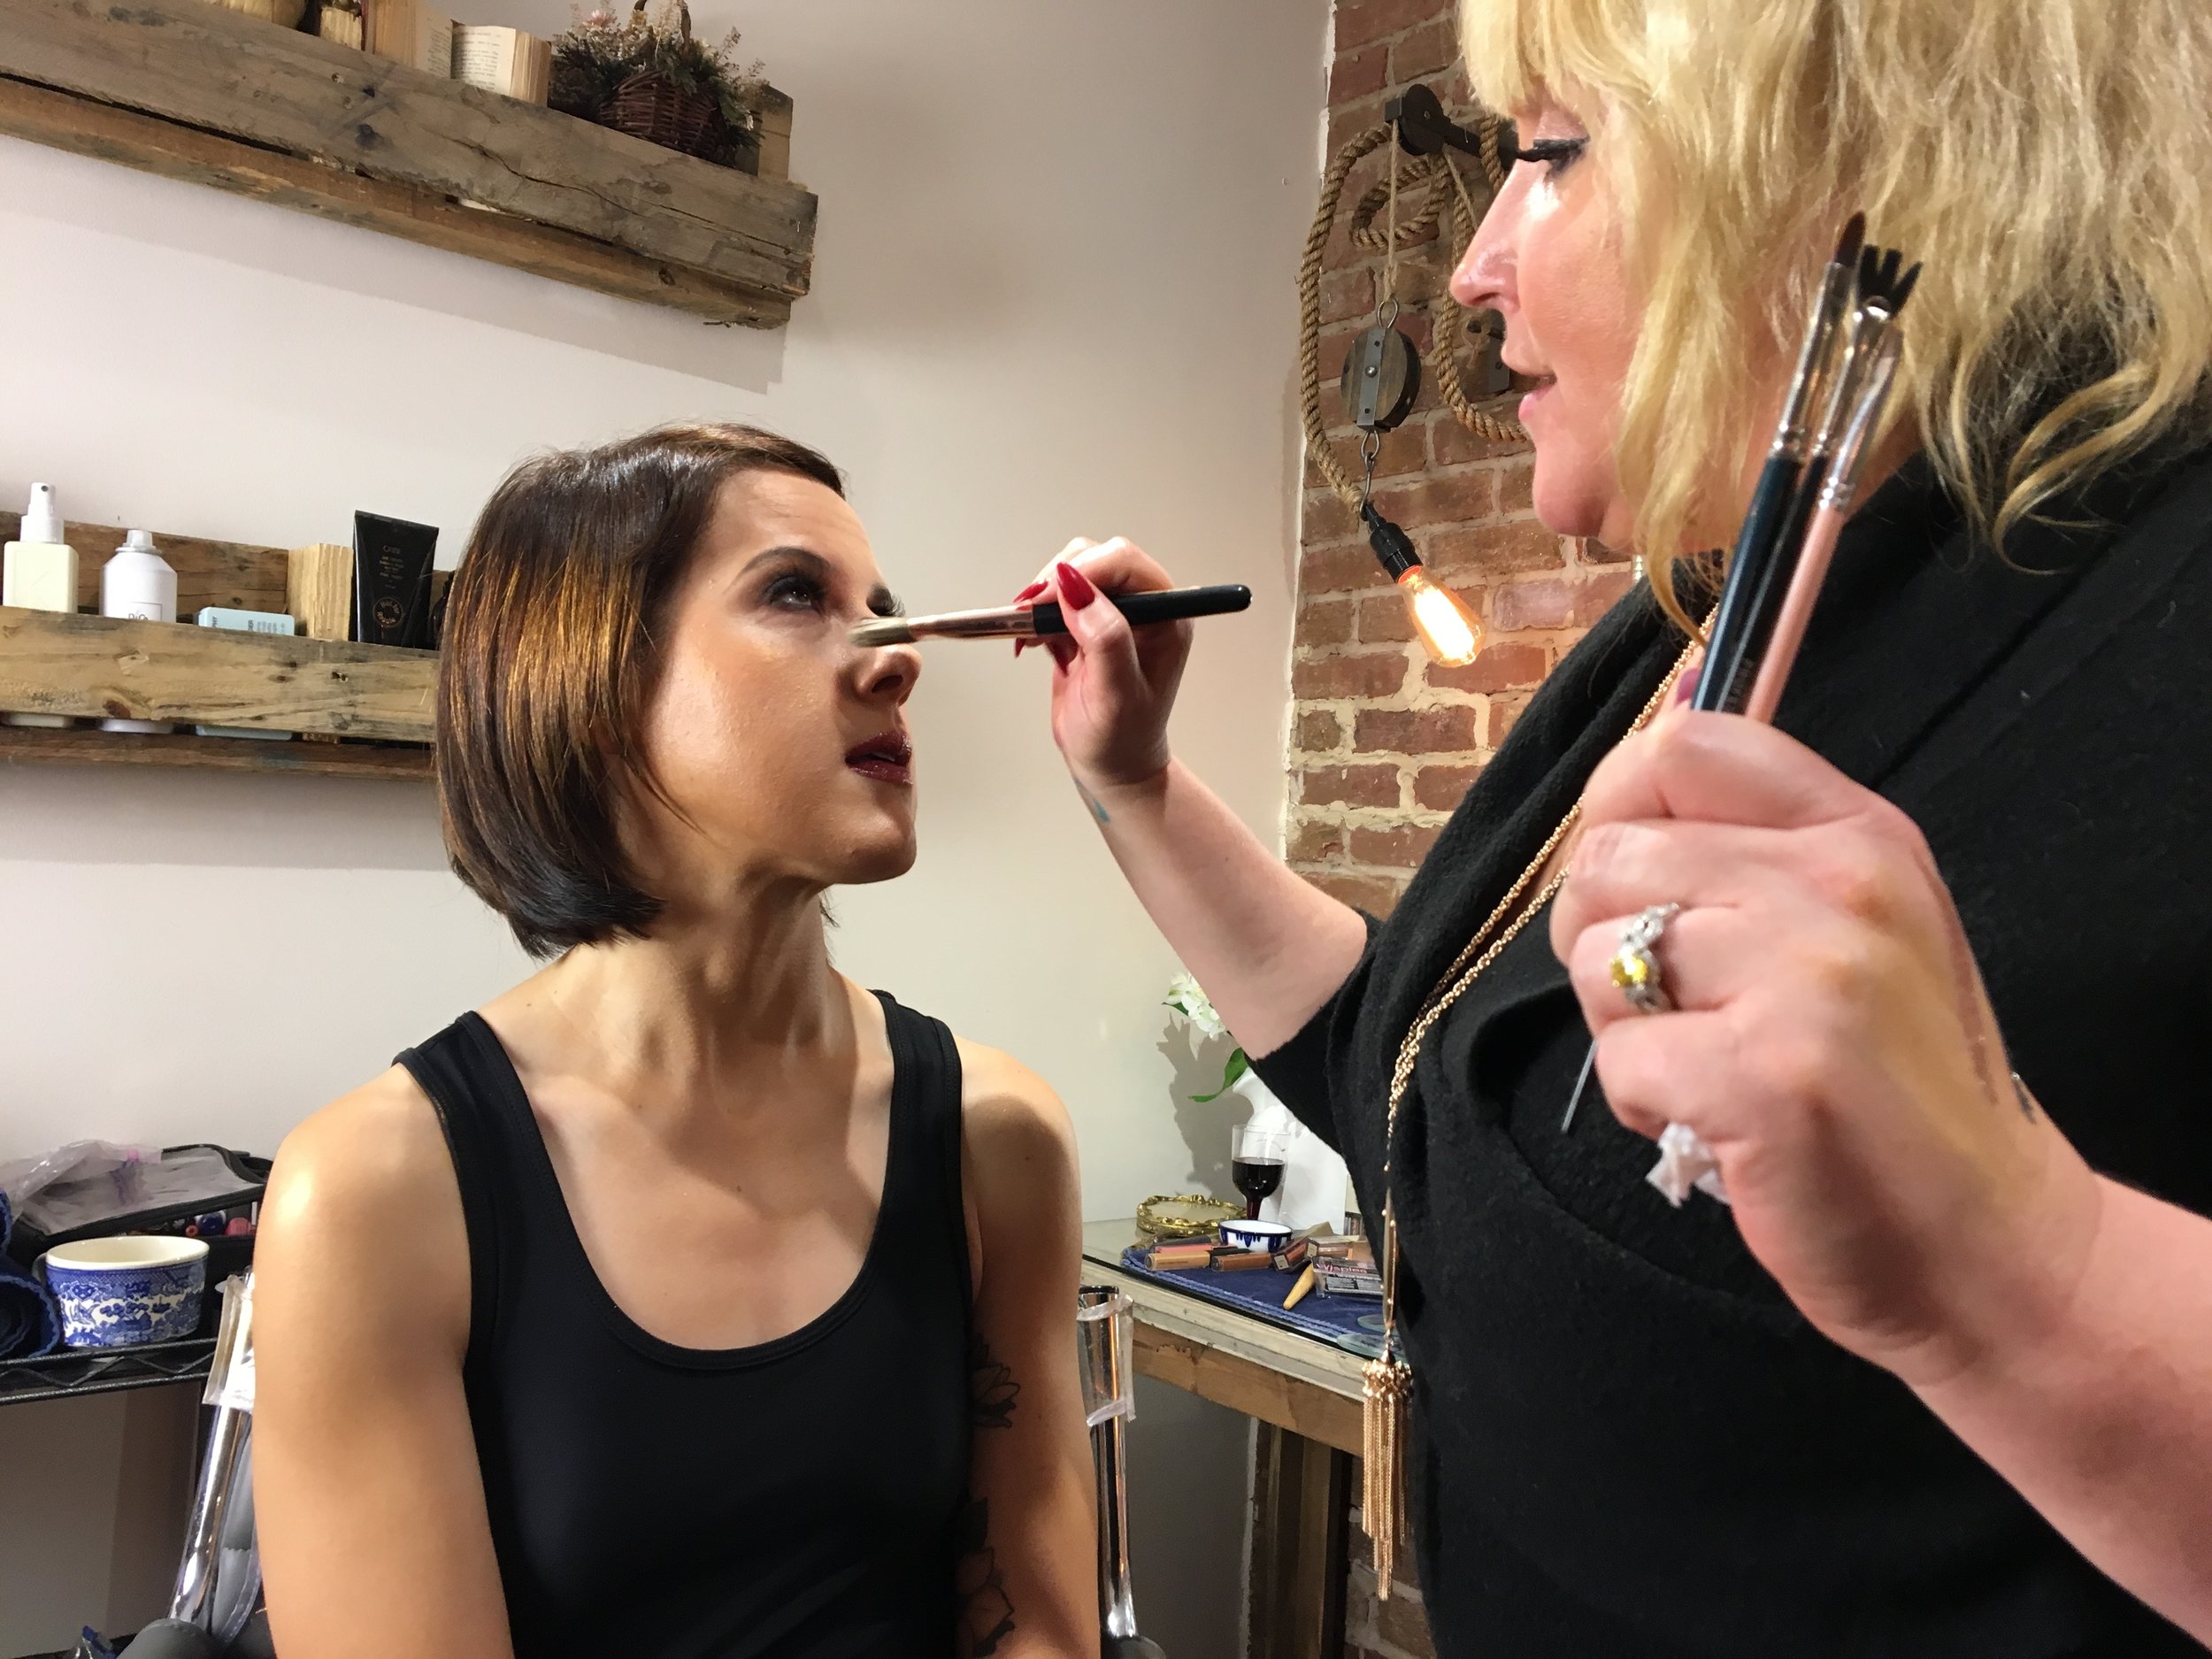
A few weeks ago, I had the pleasure of attending a master class with Emmy award-winning makeup artist Melanie Mills. And it was amazing. So this week, I want to share some of the top things I learned (I took pages upon pages of notes!) that will help you add a little - or a lot, let's be honest - of glamour to your everyday makeup.

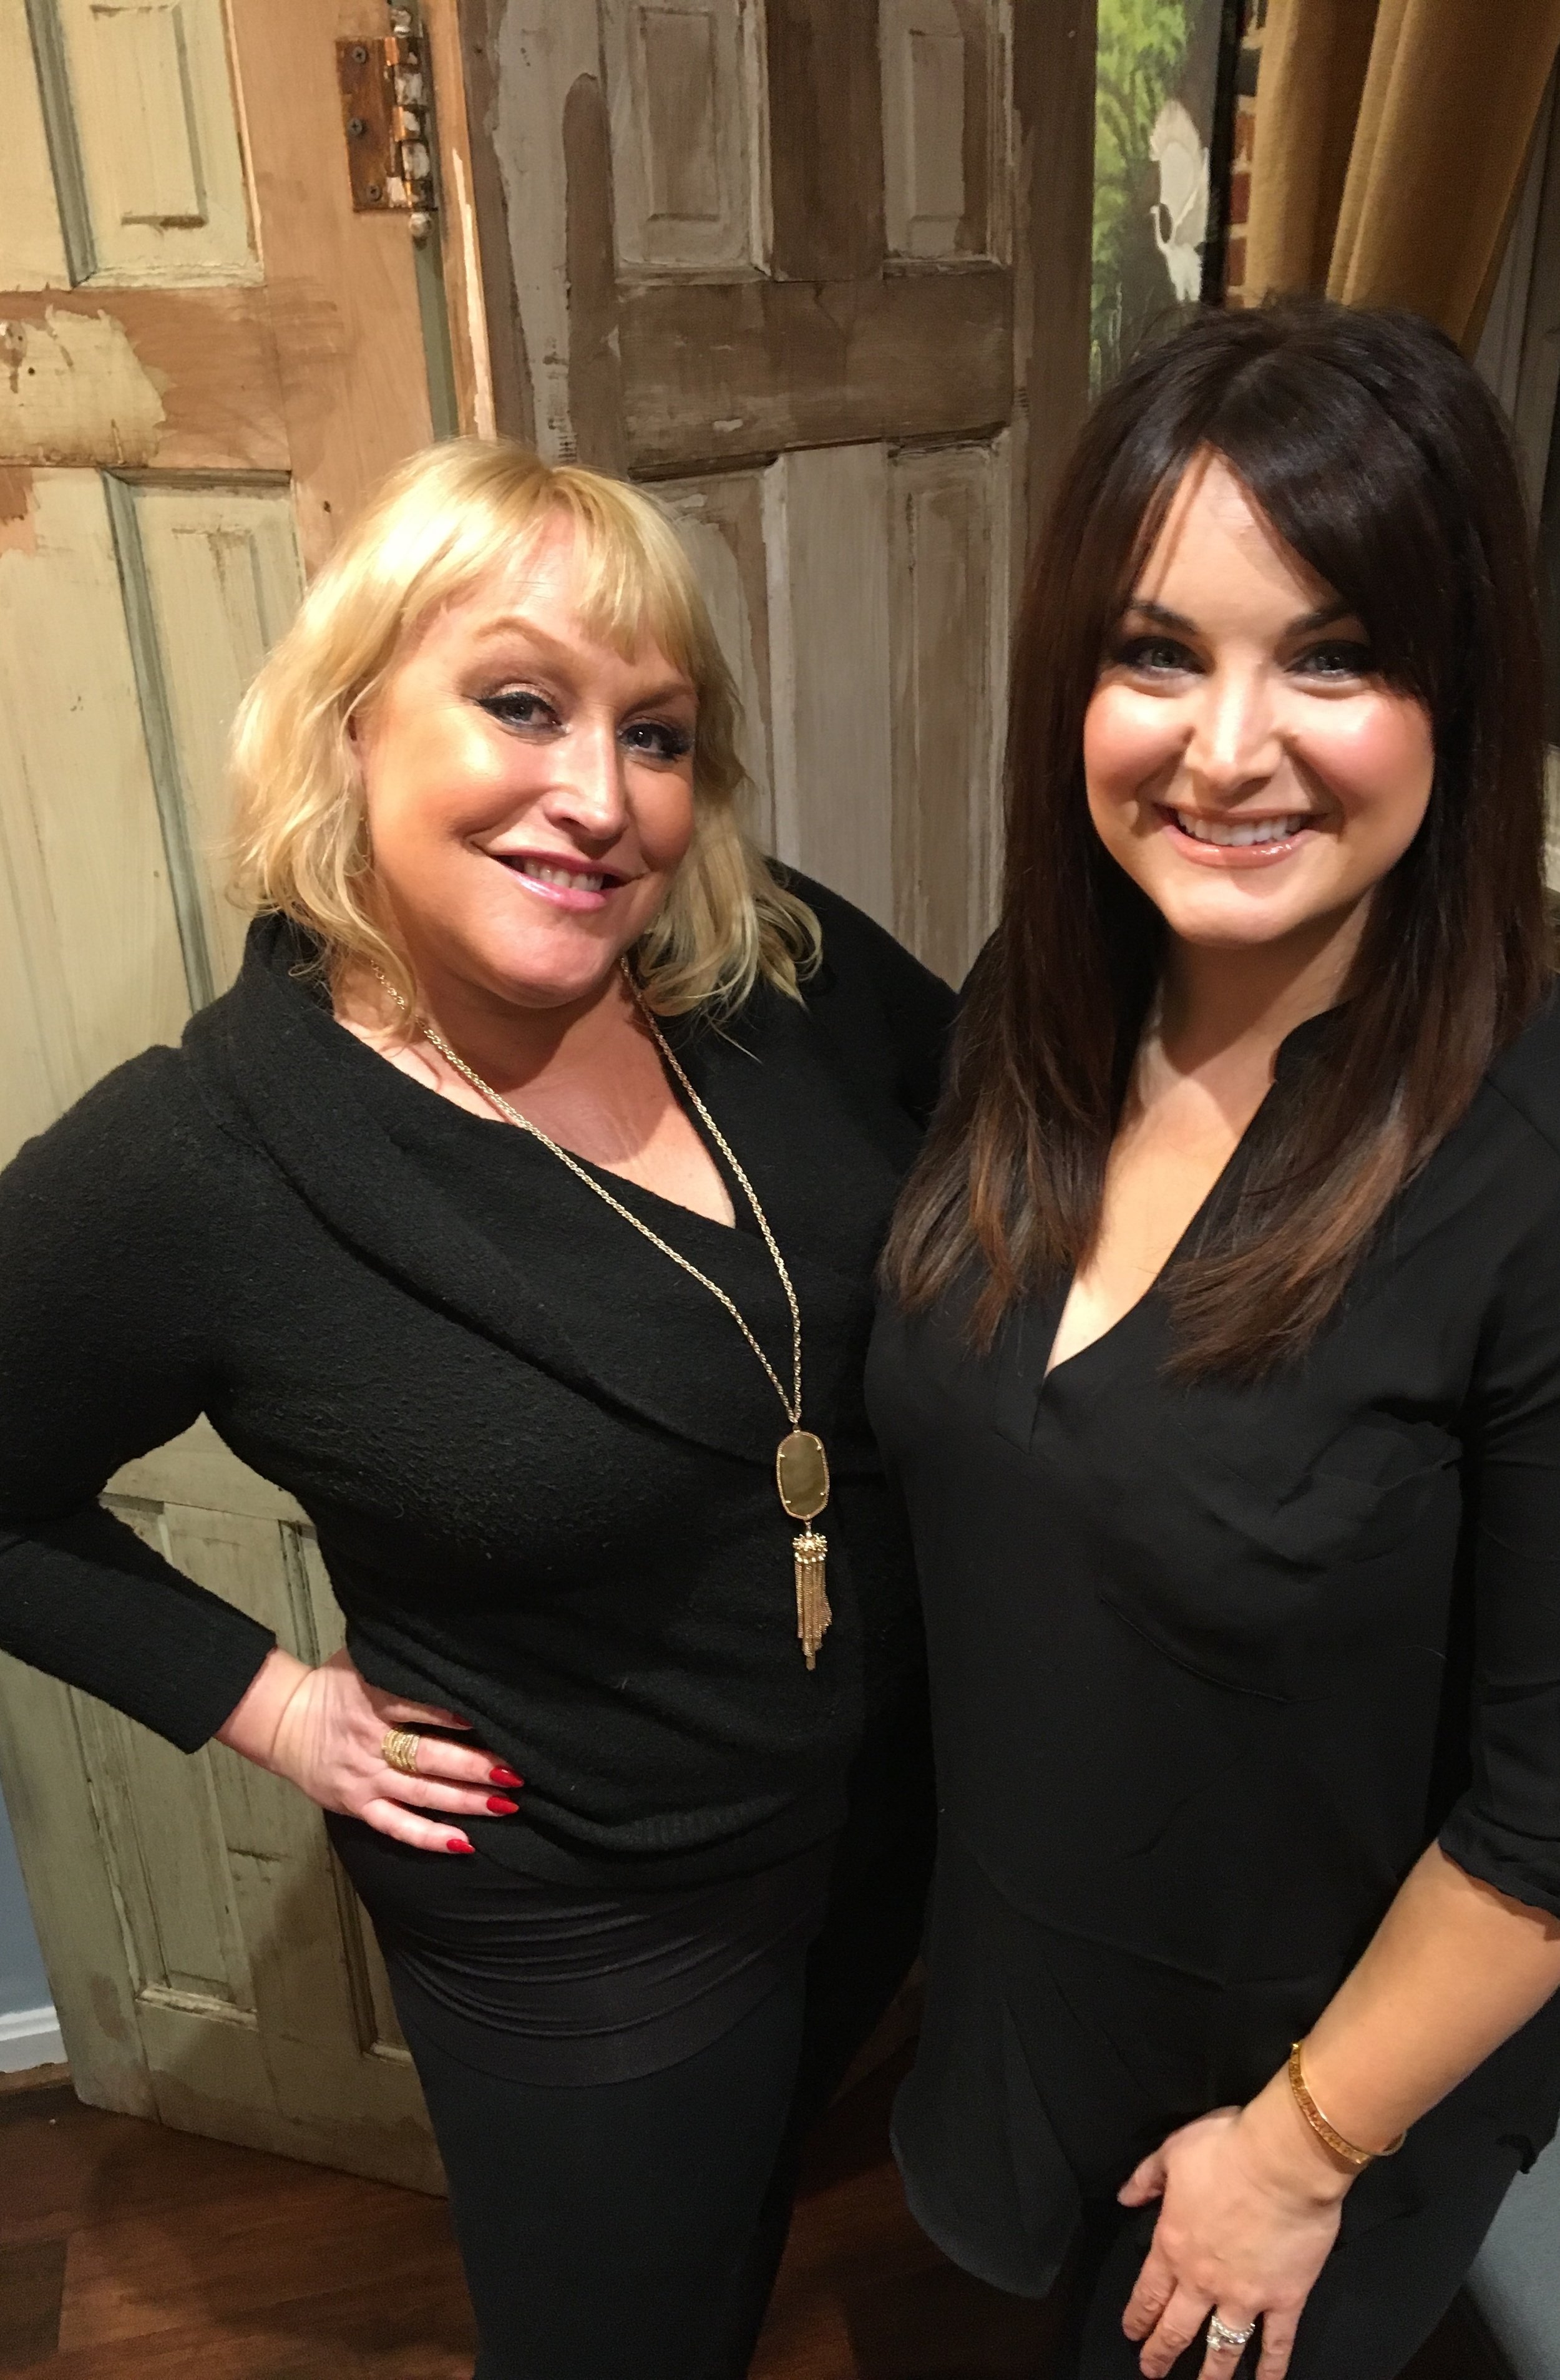
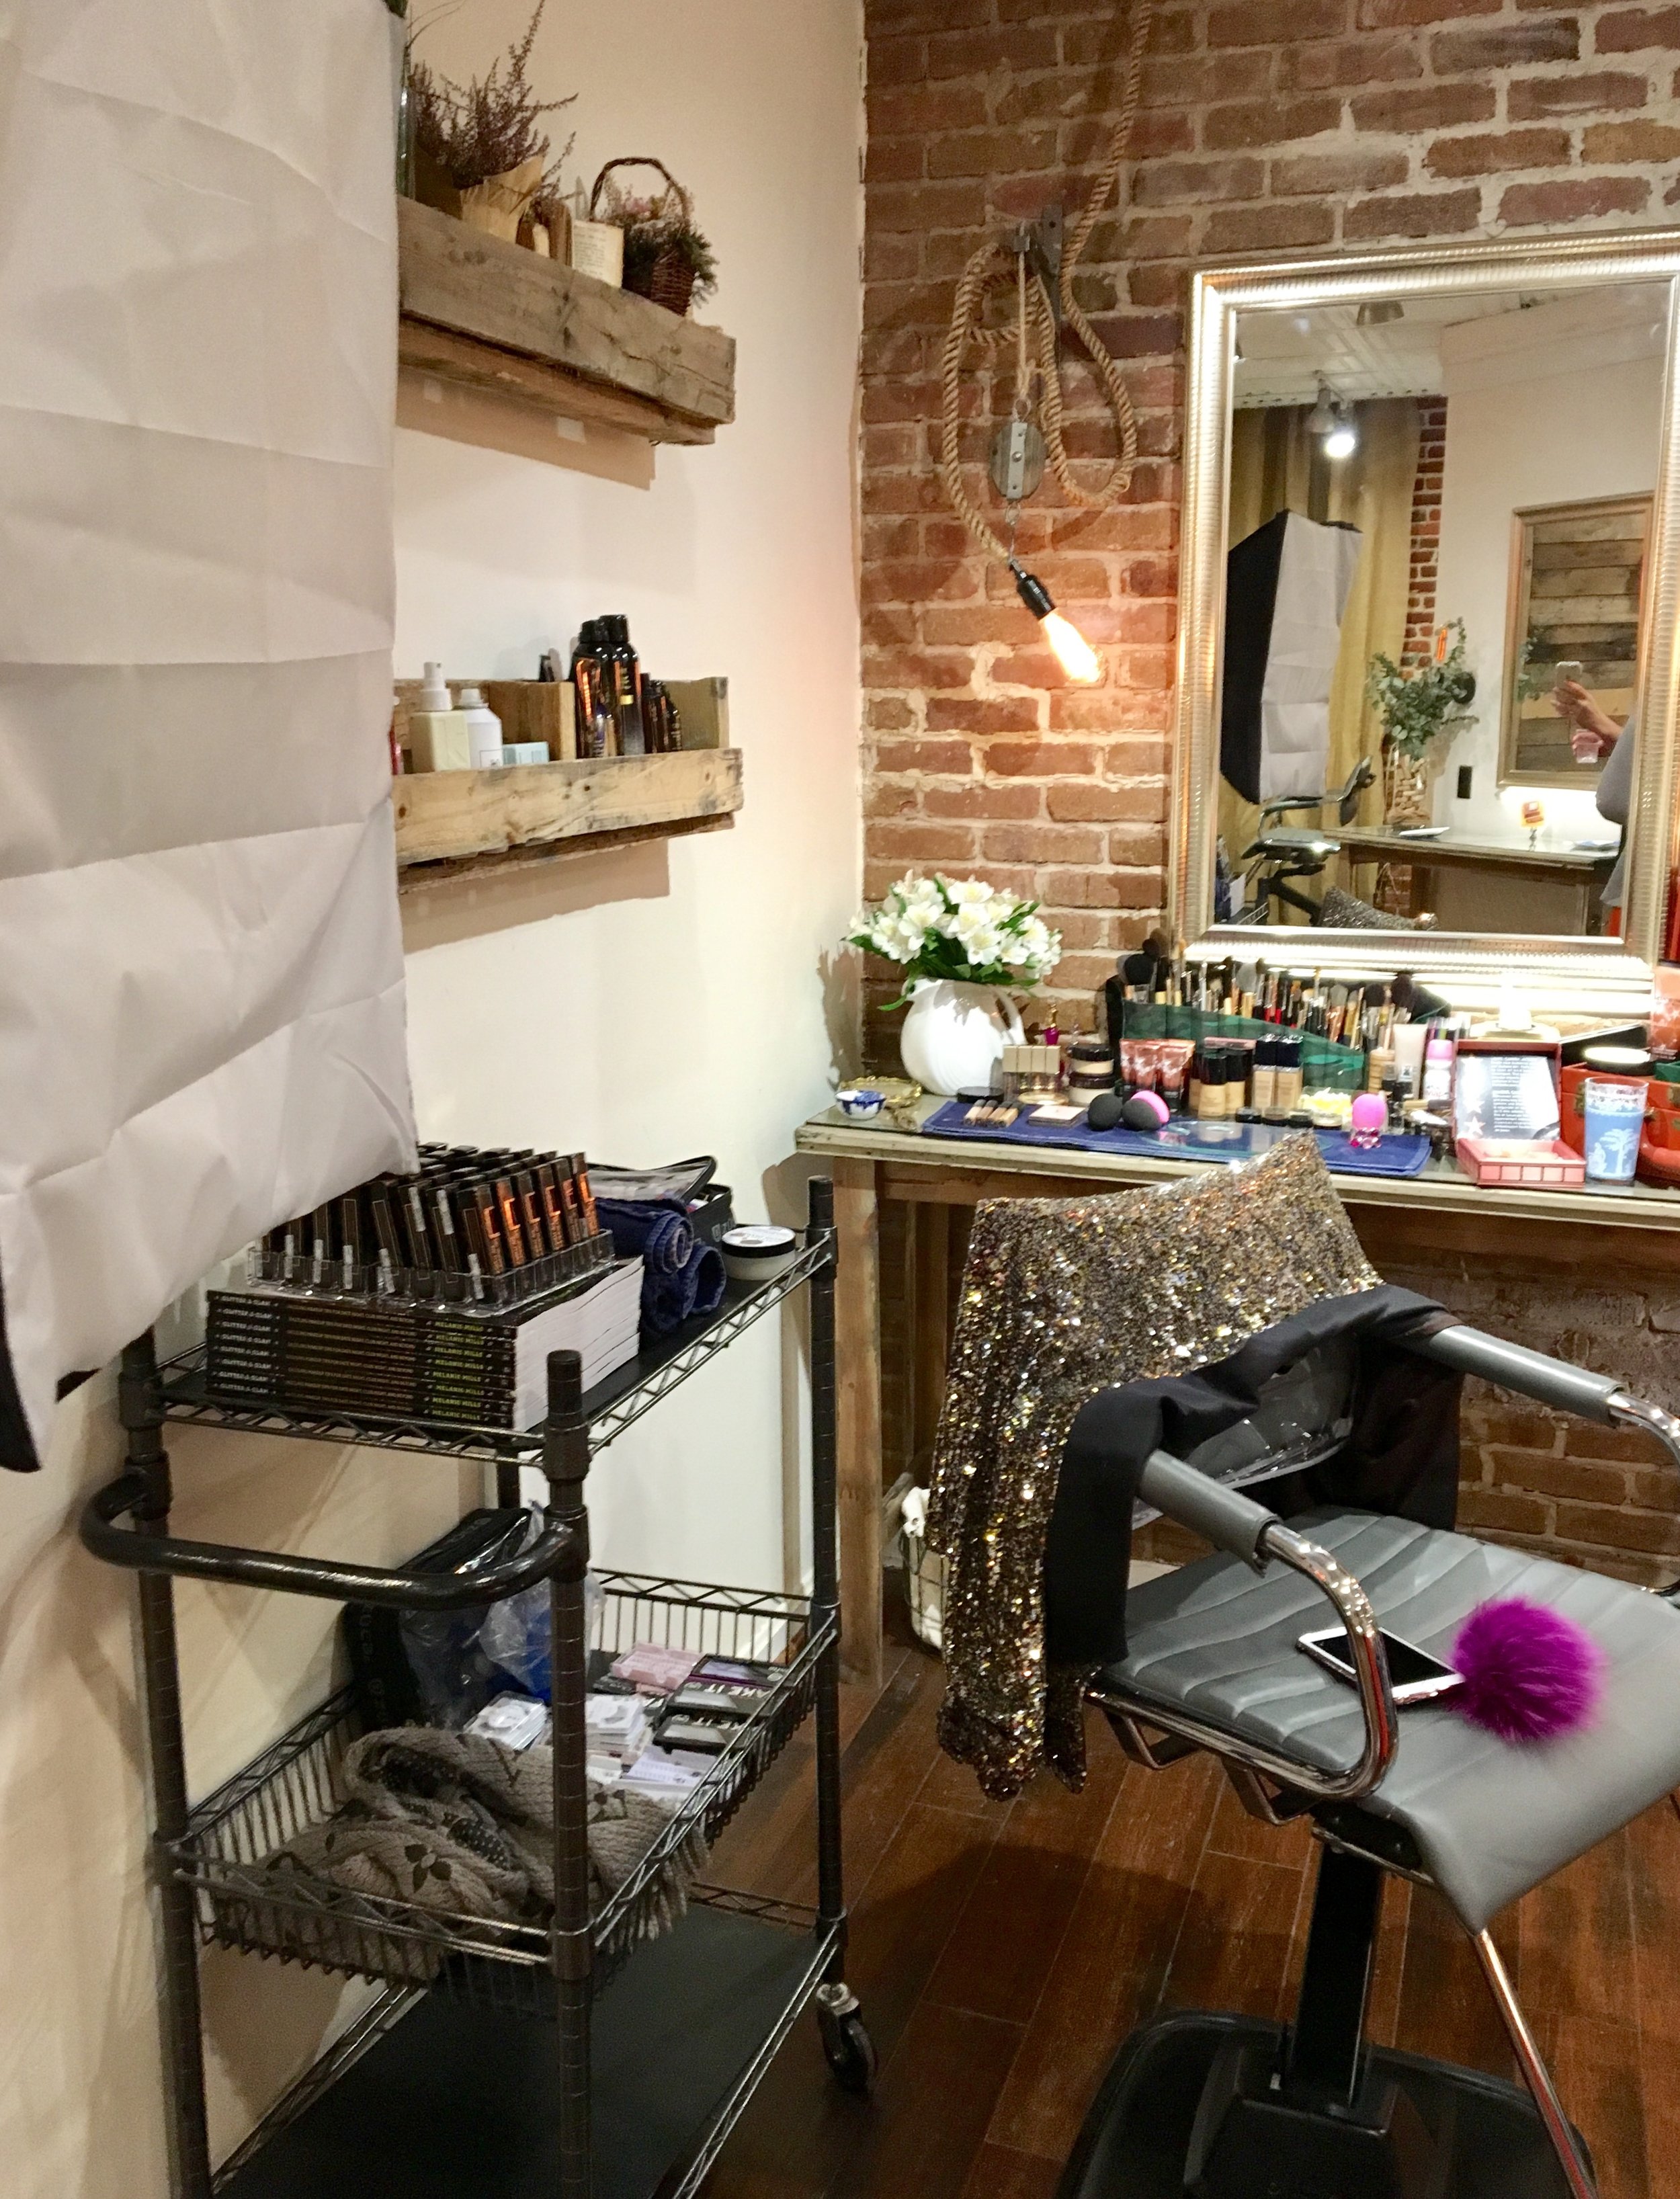
The master class was held at my hair salon, Sylists @ North (the cutest salon with the most amazing service!) and they did a top-notch job hosting - check out the scrumptious treats:

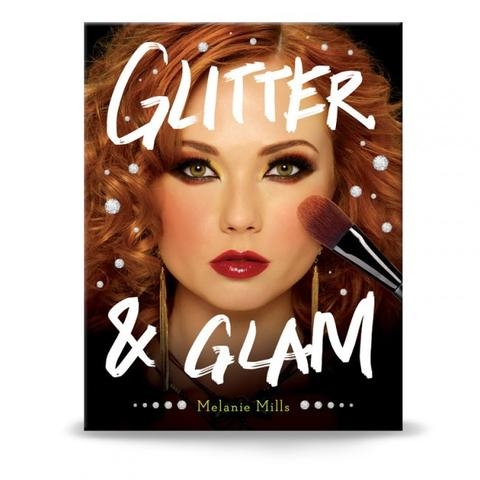
After we had some time to chat, we all sat down to take in the gloriousness that is Melanie Mills. Personally, I am 100% on board with her makeup philosophies because she's all about looking glamorous, false lashes, and glitter. In fact, she wrote a book called Glitter and Glam that I highly recommend if you want to know more about how to do your makeup like a pro.

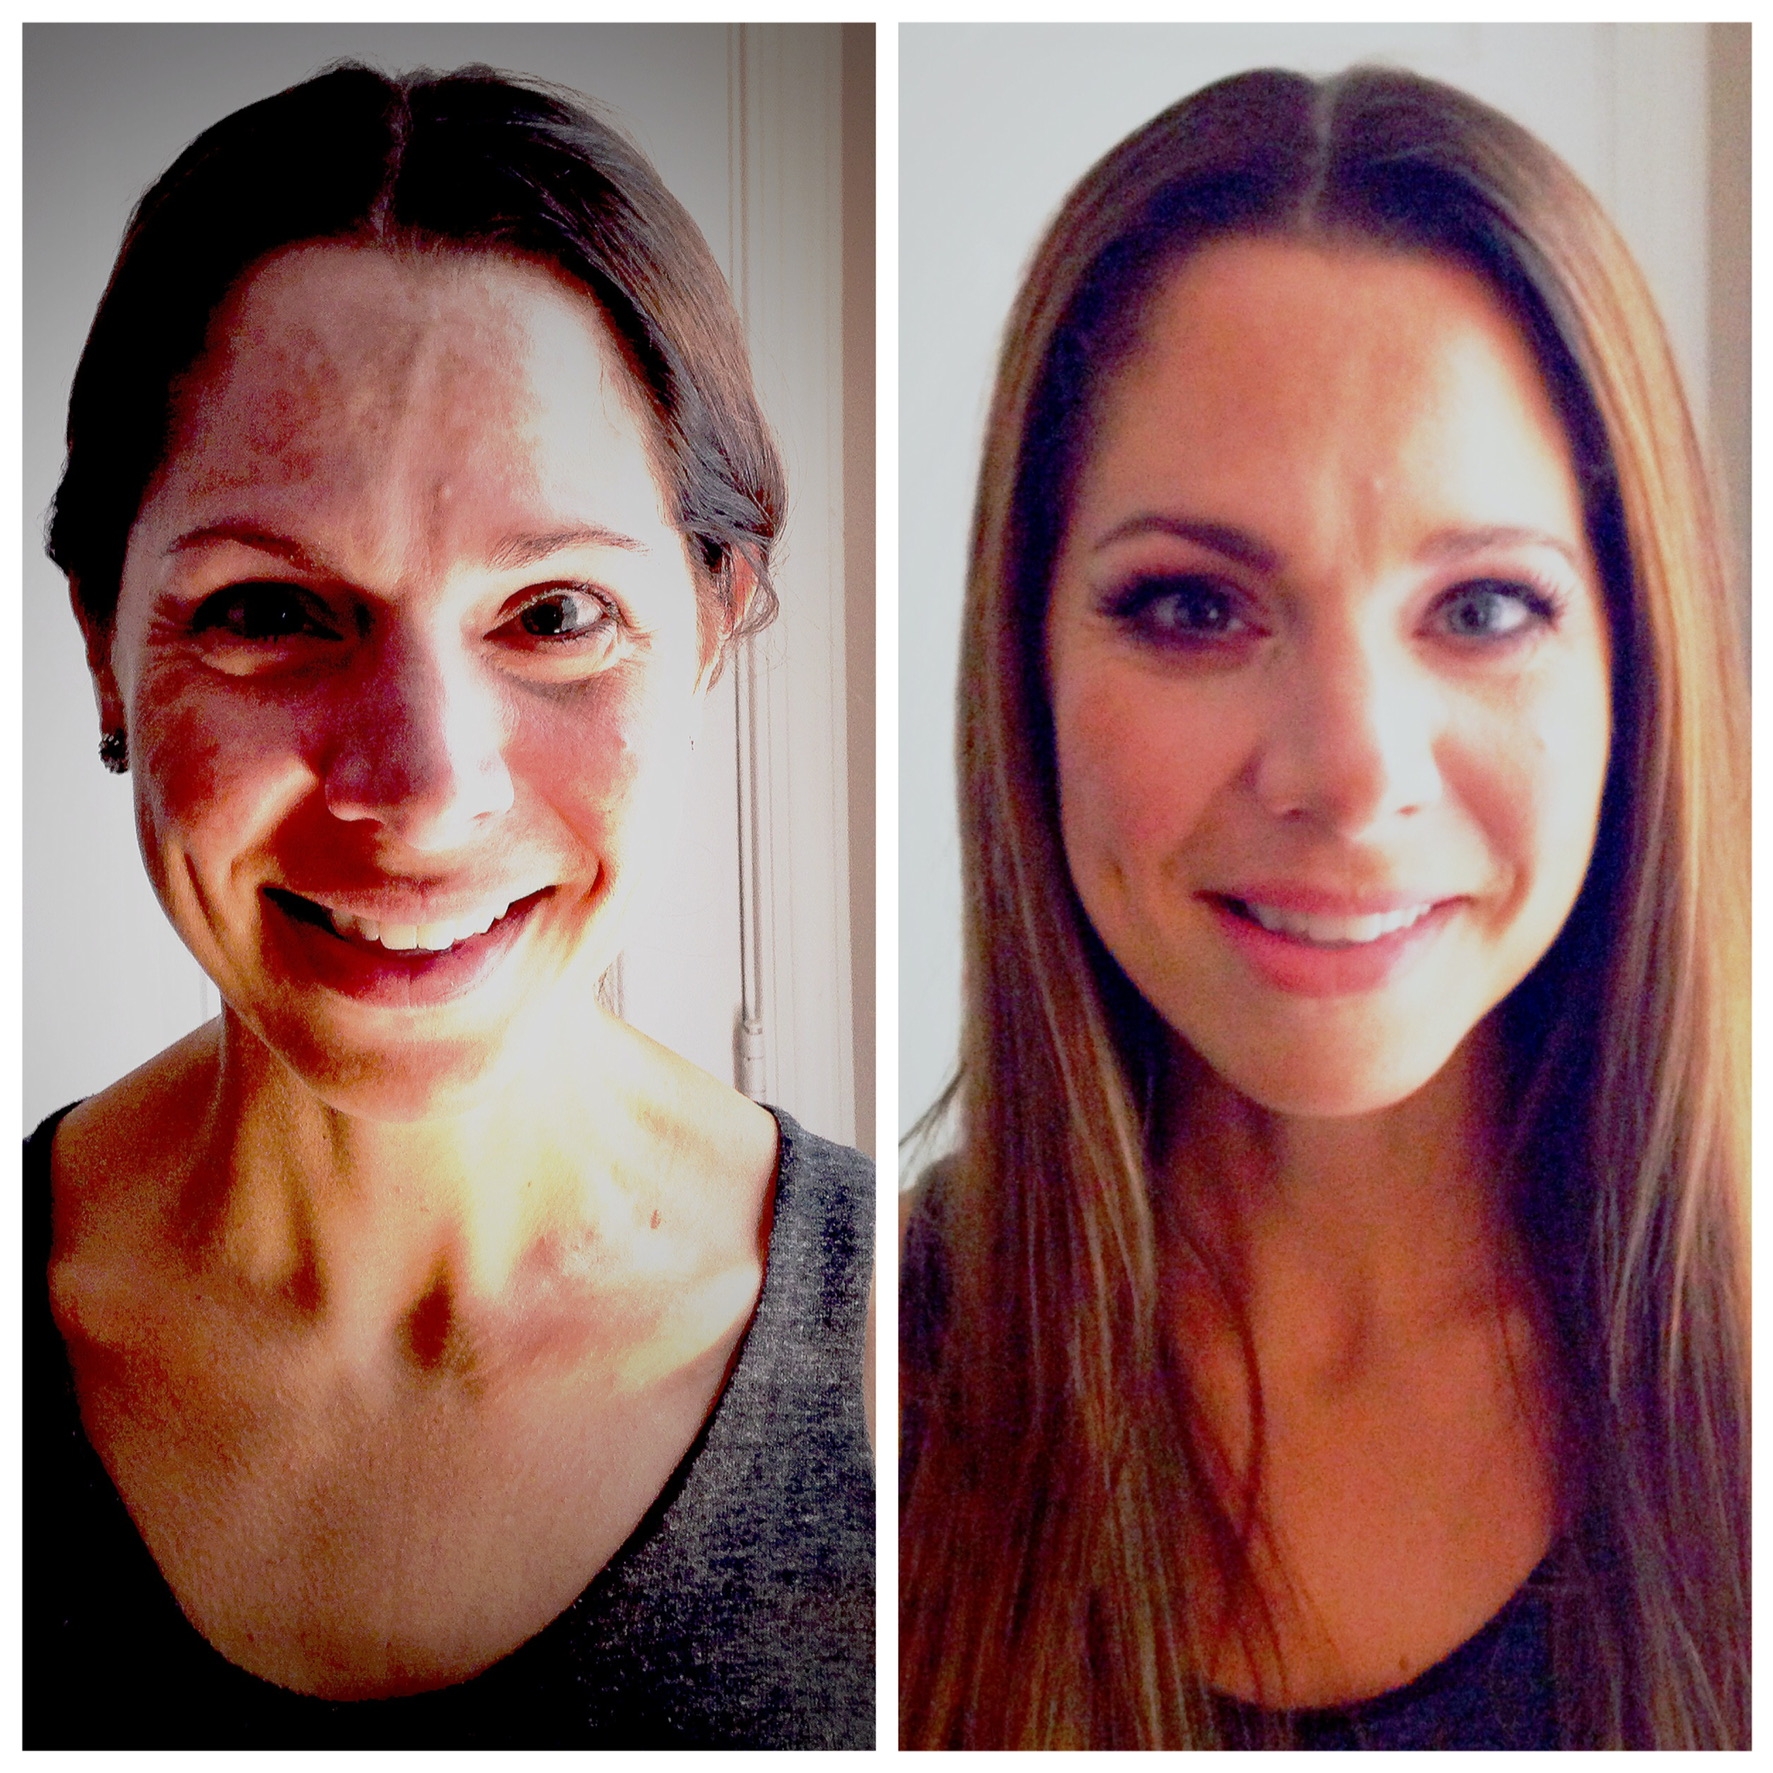
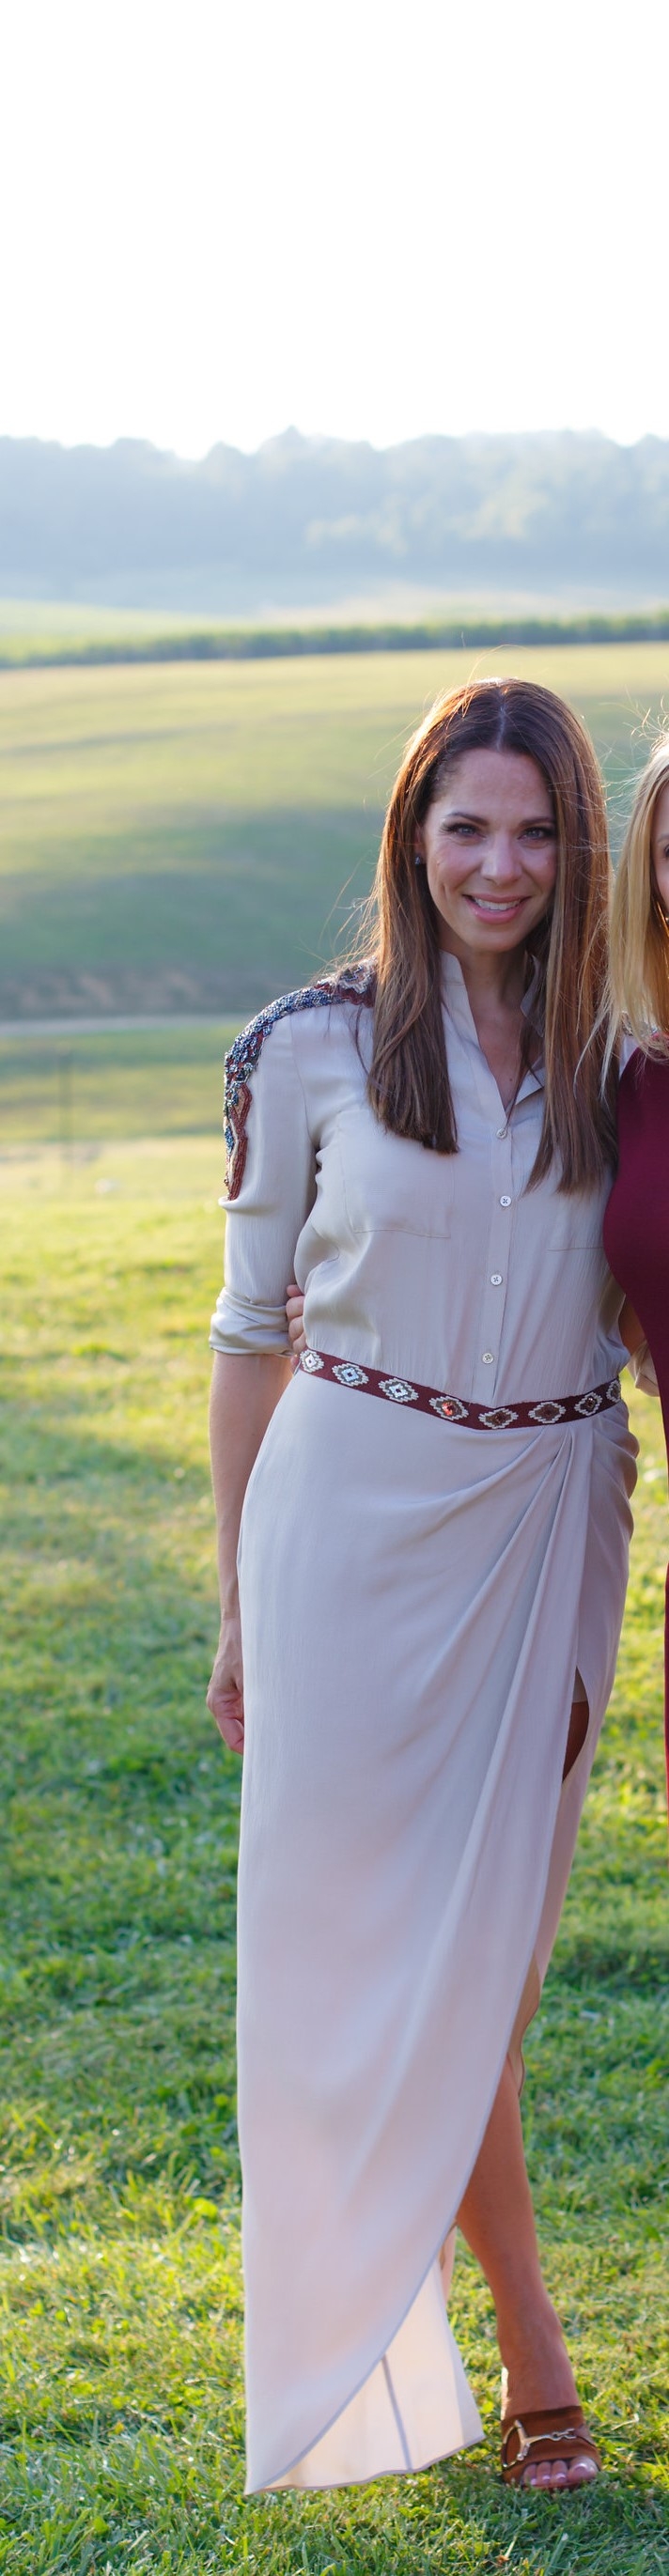
Our gorgeous model, Laura Rose (@lauraroseyoga), arrived bare-face, but left like this:

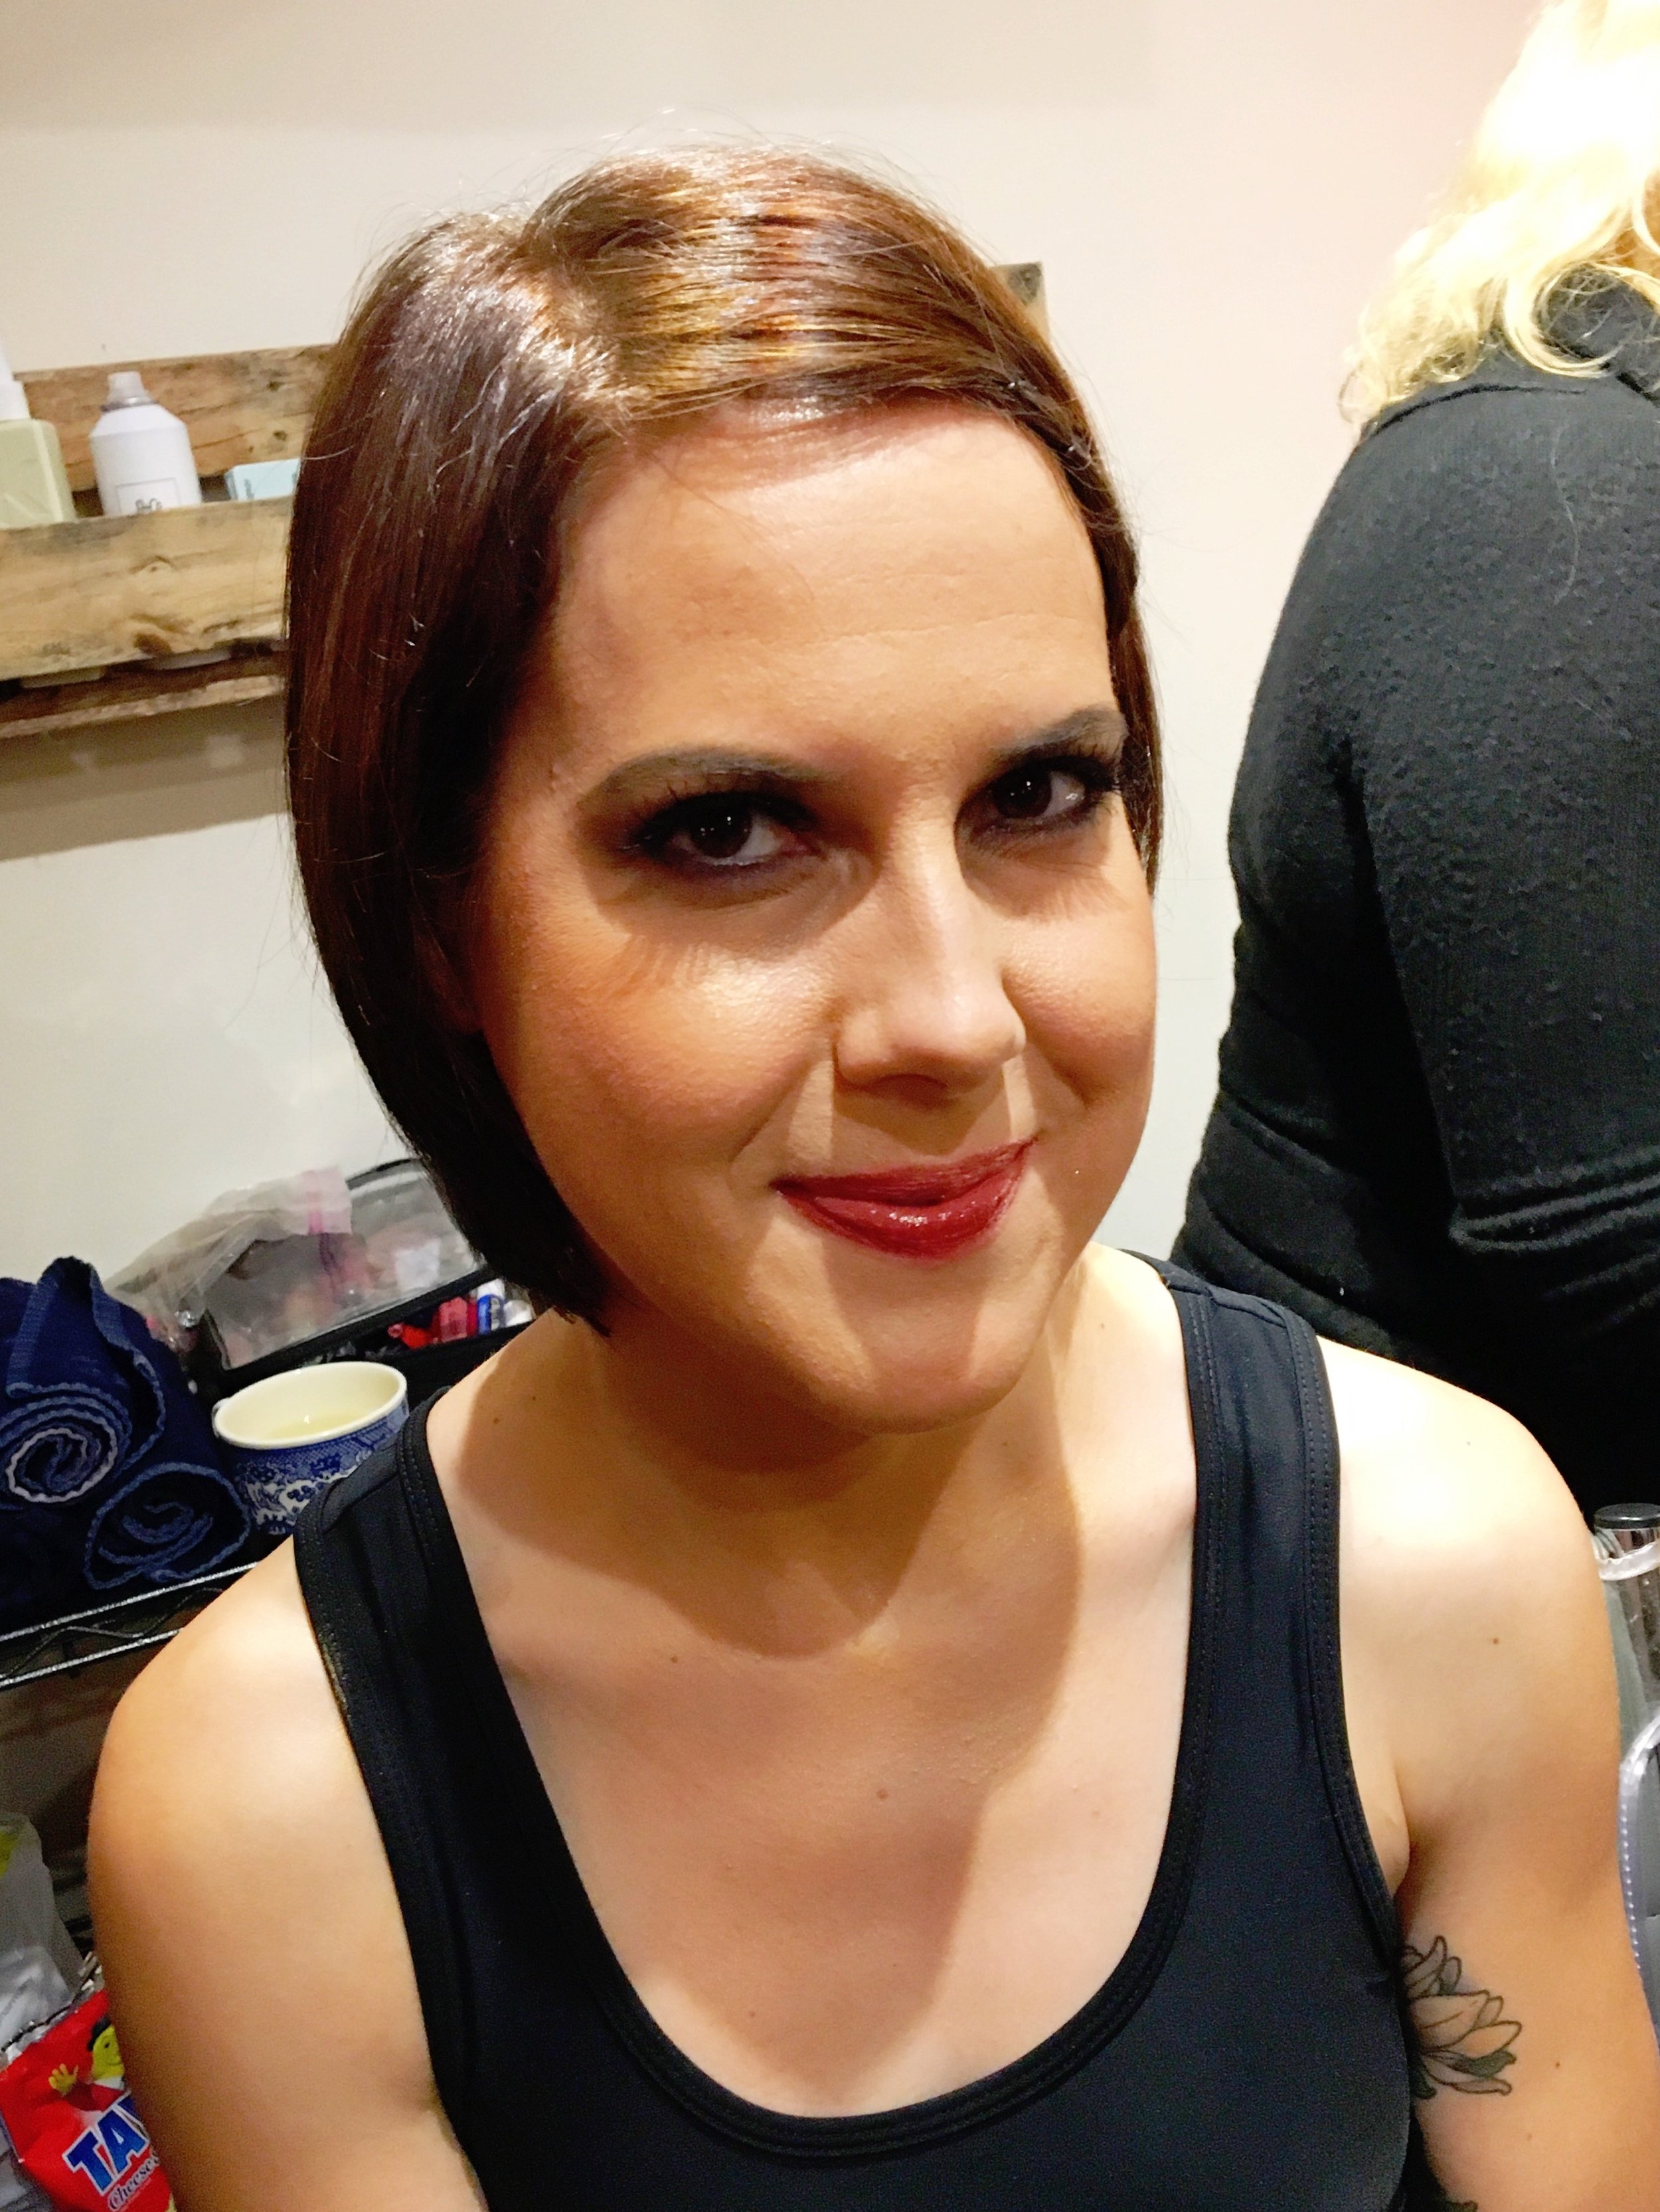
Melanie started with a daytime look, then bumped the look up for nighttime. In case you're wondering why you need to do that, take a picture of yourself in daylight and then at night with a flash. It's darker at night, which means you need bolder colors so they show up, plus there's usually a flash which causes you to look washed out unless you have more color on your face. It's worth the extra 15 minutes!

The top three things I learned:

Baking = Caking

I HATE baking. So much. I appreciate it for stage makeup, but you have to take your time and you have to do it right. When you see everyone on YouTube and Instagram baking every day, you start think you're crazy because you really hate the trend. Thankfully, sometimes it takes someone who's won an EMMY (!) to set you straight. Melanie said, "Baking equals caking, especially on mature skin...it's called baking because it looks like flour" While there is a time and place, it's certainly not necessary for every day makeup.

Keep Lashes Intact

This is a two-for-one tip! To get a really great curl, sometimes it's fun to curl your lashes after applying mascara. The problem is that method can rip out your lashes. The solution? Powder your eyelash curler first with a light dusting of translucent powder. And for false lashes - this one blew my mind - Melanie suggests not trimming them to fit your lash line because it messes with the integrity of the lash. Instead, use individual or cluster lashes, or find strips that are already a good fit.

Don't Forget Body Makeup!

"Completion is key!" Melanie mentioned a famous late night talk show host (*cough* whose last time rhymes with mole bear...) who hates having makeup applied to his ears. The problem is that, especially under TV lights, this makes his ears look super red compared to his face. The same thing happens when you do this gorgeous makeup on your face, but neglect your neck and chest. One of the best solutions is to invest in good body makeup, especially now that we're headed into the warmer months. Melanie has an insane line of body makeup, called Gleam Body Radiance, that tightens and brightens your skin. It can be used as a primer and illuminator, too. I purchased the Disco Gold shade, but will be heading back to purchase Rose Gold as well!

For more of Melanie's tips and tricks, make sure to order her incredible book and follow her on Instagram @Gleam_MelanieMills. Thanks for joining me this week, and let's stay in touch on Instagram @ElectraLane. If you like the blog, please let your friends know so they can join the fun!

Hallie's Photo Shoot

14237762_10210851723755071_427042203735288359_n.jpg

A few weeks ago, I had the pleasure of hosting my friend, Hallie, and her uber-talented photographer friend, Jessie in my makeup studio. Jessie was taking family portraits for Hallie, so I wanted to share some tips on how to create a paparazzi-worthy look for your own photo shoot.

Prep the Skin

When taking photos, the makeup is usually heavier than usual, so your skin has to be ready for it.  I've learned over the years that that means skin needs to be hydrated (even if it's oily) to accept setting powder.  I start by applying under-eye masks and a skin type-appropriate primer.  My favorites (because they work on everyone!) are the Klorane Smoothing and Relaxing Patches for eyes, the Glossier Priming Moisturizer for dry-to-normal skin, and Embryolisse Hydra-Mat for normal-to-oily skin (or if it's hot out).

Please pardon the awful lighting, but this hottie is gorgeous before and after makeup.

Structure Over Trends

I can't tell you how many photos of Kim Kardashian I used to get when doing clients' makeup.  As phenomenal as her makeup is, it's created for her bone structure and coloring - in other words, what looks great on her might look awful on me because we look so different.  When it comes to photos, it's important to focus on your individual needs, so the emphasis should be on etching out your features and bone structure.

Color, Color, Color!

blush

This is the blush I used on Hallie - it's Exhibit A by NARS.  I almost always use this, or a bright pink, on all of my photo clients.  Especially when taken outside, the natural light can really wash you out so if you don't have on more color than you think you need, the makeup won't even show up. If you're nervous about using too much, take a selfie in front of a window to see what is and is not showing up.

~~~~~~~~

Here are the un-retouched photos. I mean...wow. You can't tell, but this day was SWELTERING - they made it look like a crisp fall day. And please ignore the fact that I cropped out Hallie's family from these photos, weirdos on the internet don't need to see her kids. If you'd like to discuss how to perfect your own photo makeup, check out the "services" tab and email me: Jessica@ElectraLane.com.

wineryshoot050 wineryshoot061

image1

For more info on these lovely ladies, you can subscribe to Hallie's fantastic blog, Tightrope In Heels, for the best how-to-do-life advice. Reading her blog is like meeting a friend for coffee, so definitely check it out. And you must visit Jessie's website to view her incredible talent. Thanks Hallie and Jessie for letting me share your images!


Images c/o Jessie Preza Photography and Google Images

How to Get the Perfect Smokey Eye

image1-1.jpg

It's fascinating that every time I get a woman in my makeup chair, she wants to look glamorous. But as I add the glam, she starts talking about how she really just wants to know how to do eye liner for every day, or how to do makeup that also makes her look like the best version of herself. So I created Electra Lane, to bring you all my tips and tricks and knowledge and hands-on info I learn from painting faces, in the hopes that you could have a resource for the more practical side of makeup since there is so much over-the-top makeup inspiration out there.

But guess what?

While folks need to learn practical makeup, I think they want to at least know how how to get the enchanting smokey eye and chiseled contour.  So, in my attempt to bridge the makeup gap between inspirational and attainable, I will be posting more in-depth blogs, videos and posts mixed in with the basics.  To make sure you don't miss any of these goodies, please subscribe to this blog, to my YouTube channel, and follow me on Instagram or Facebook.

This week, I'm sharing the two things you need to know in order to get the perfect smokey eye, as well as a video tutorial for a classic smokey.

image2-1

Blend Like a Pro

You hear it all the time - the perky YouTuber chirping, "Blend, blend, blend!"  So you "blend," only to have shadow all over your eye and no distinction between the colors you've used. To blend properly, make sure you're blending with a clean brush, or at least a brush you used on a shadow lighter than the one you're trying to blend (you'll see this in the video - I only use one brush for the whole lid). Then, you want to keep your blending just where you want your shadow to be. A good rule of thumb is to not go below your top lash line or beyond the tip of your eye brow.

img_3405

Layer Appropriately

The biggest "Aha!" moment I had in makeup is when I started layering my eye shadows. In my opinion, the best eye makeup I do uses a minimum of six colors. Seriously (if you want to see how to create this gradient of color, this Jaclyn Hill video is a great example - start at 1:45). A big mistake I see is when people start with a really light color, then go in with a really dark color.  You have to have something for the darker shades to blend into (which you'll also see in the video below), so make sure to gradually go darker with your shades.

And now, the tutorial:

~~~

Thanks so much for stopping by and, if you like what you see, please feel free to like and share this post!

Why Your Makeup Looks So Much Better When a Makeup Artist Does It

fpCollage.jpg

There are two reasons makeup looks better when a professional does it, and I will share them with you below. First, though, let's state the obvious: if you do something for years and years, you'll probably be better than most at it. Painting different skin tones and colors and different bone structures for different occasions, along with lots of education, not to mention hard work and passion, makes a good makeup artist. So while makeup artists have an advantage in that regard, these two tips will really up your game.

image


  1. Only use what you need

There's a myth that you need a ton of makeup to look great. In truth, more makeup can really age you, so a makeup artist secret is only to apply the smallest amount of makeup just where you need it. This is why skincare is so important! Rule of thumb - if you don't need it, don't use it.

Dry skin? Skip powder. Rosy lips? Opt for a sheer gloss instead of liner and lipstick. If you have great skin, just dab a little concealer around your nose, mouth, and the inner corners of your eyes for brightness and forget foundation. Let makeup enhance instead of cover - you'll be surprised with your natural glow.

Here's a video if you want that concealer trick:

2. Take your time

 When I do someone's makeup, she is usually astonished by how long it takes. Really, really good makeup requires application, blending, checking, going back in to add more makeup/fix something, more blending, and repeat again and again until it's where you want it.

Then, there are touch ups.

So, if it's at all possible, give yourself plenty of time and you'll see your makeup IQ rise.

~~~

When I first studied to be a makeup artist, I was so excited to learn the secrets behind smokey eyes and flawless skin - so imagine my disappointment when I found out that there was no paint-by-number solution. Take your time, just use what you need, and keep coming back to Electra Lane for more tips and tricks! To make it easier, make sure to subscribe so you never miss a post.