Surgery Survival Tips

IMG_8875.jpg

Despite spending hours scouring the internet for practical tips to help with preparing for as well as the aftermath of my hip surgery, I didn't find much.  Maybe I'm vain, but I wanted to know what I needed to look and feel my best throughout this not-so-pretty process, so I hope my tips can help anyone about to embark on a surgery or hospital stay. {The sweet @TheSuperBeagles didn't leave my side}

The MOST important thing to have before surgery, after surgery, and during your time at this hospital is...

...your manners.

While this time is all about you, there will be lots of people doing lots of things for you - some of them gross - and saying "please" and "thank you" go a very, very long way. From the folks who check you in, to the nurses who get you to-and-from the bathroom, to whomever takes care of you during recovery, showing gratitude is a must. Even when you're thinking "But it's their job!" or "Someone has to do chore X because I physically can't!"  It really makes the ride so much more smooth.

IMG_8608


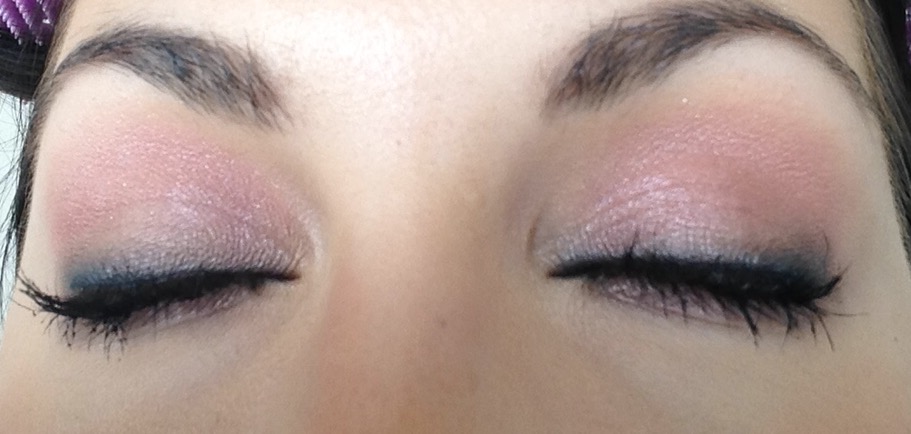
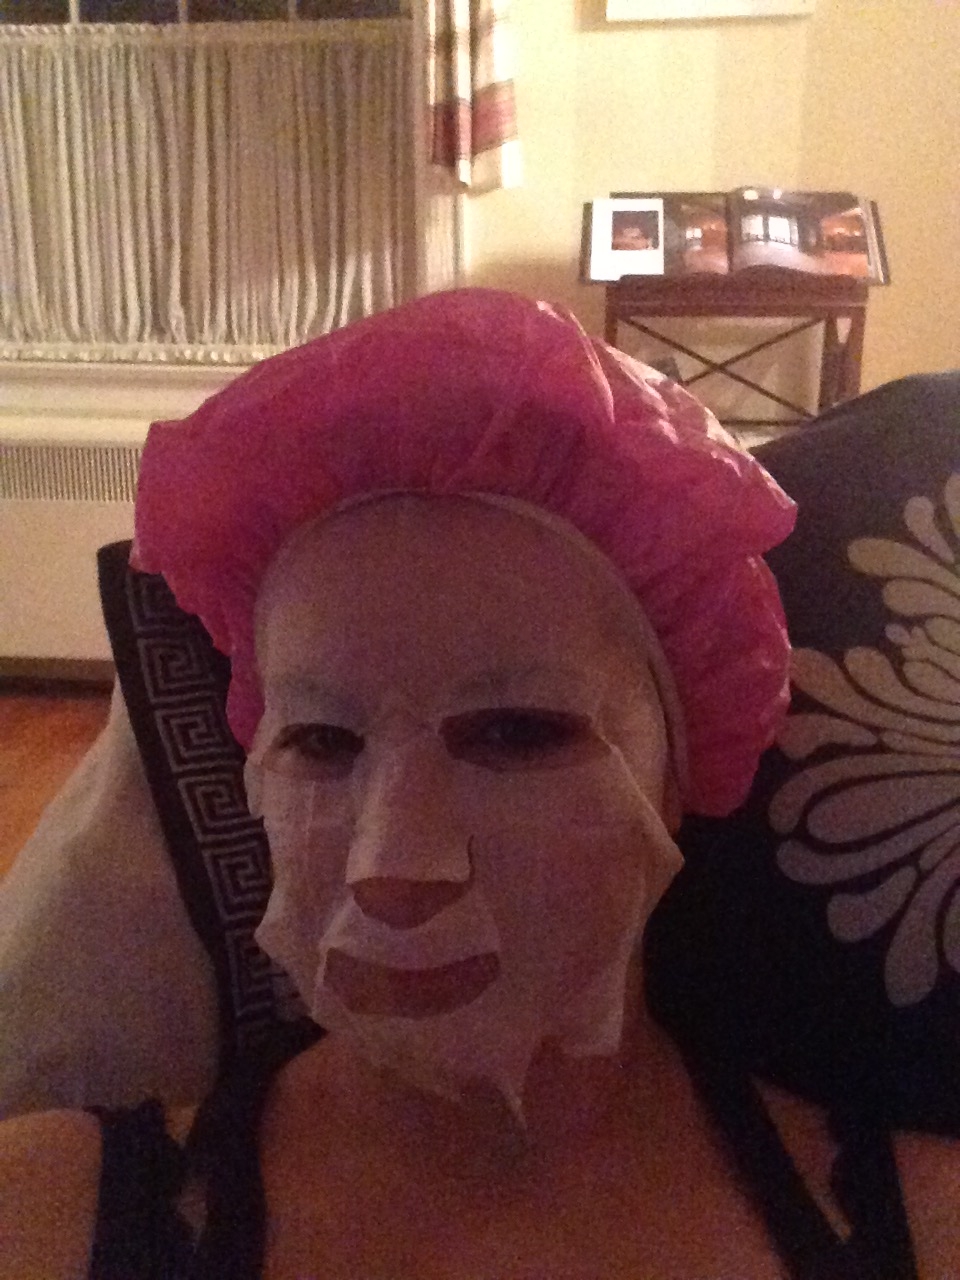
Invest in a manicure, pedicure, waxing, hair color, massage, and any other beauty treatments you usually get.  Even if you're physically able to shave or do your own nails, you might not have the energy to.  Plus, it was nice to feel very pampered before an uncomfortable experience.

IMG_8628

Even though I didn't leave the house for a week, I still wanted to look cute (look good, feel good!).  So my husband wouldn't have to figure out what clothes to give me, I made outfits-in-a-bag by putting undergarments, a comfy pair of pants, and a top in a gallon-sized zip-top bag.

{Comfy crutch grips and bagged outfits in the background}

Download a white noise app like Noisli to fend off the inevitable insomnia that strikes when post-op medications mess with your beauty sleep, and a 6-foot phone charging cord for when you're bored out of your mind and you want to Instagram-stalk your friends in bed.  Another great mind-release is writing in a journal!

I knew to deep-clean my house before surgery, but I followed a friend's advice and set up a cleaning service for the next few months afterwards.  By far, this was the best investment because it also took so much pressure off of my husband who was doing all of the chores for the first month.

FullSizeRender

I also knew to make some meals ahead of time, but I took it a step further and made a "snack bar."  Especially the first week, I wanted to eat only so I could take the necessary medications; I had pouches of nuts, bananas, granola bars, and yogurt ready to grab without any preparation.  And though ice water was my beverage of choice, La Croix fizzy waters were a lifesaver when my stomach wasn't feeling too great and I didn't want the sugar overload that accompanies the traditional ginger ale.

Since I had to keep ice on my hip, a warm, fuzzy blanket was an amazing companion.

IMG_8718

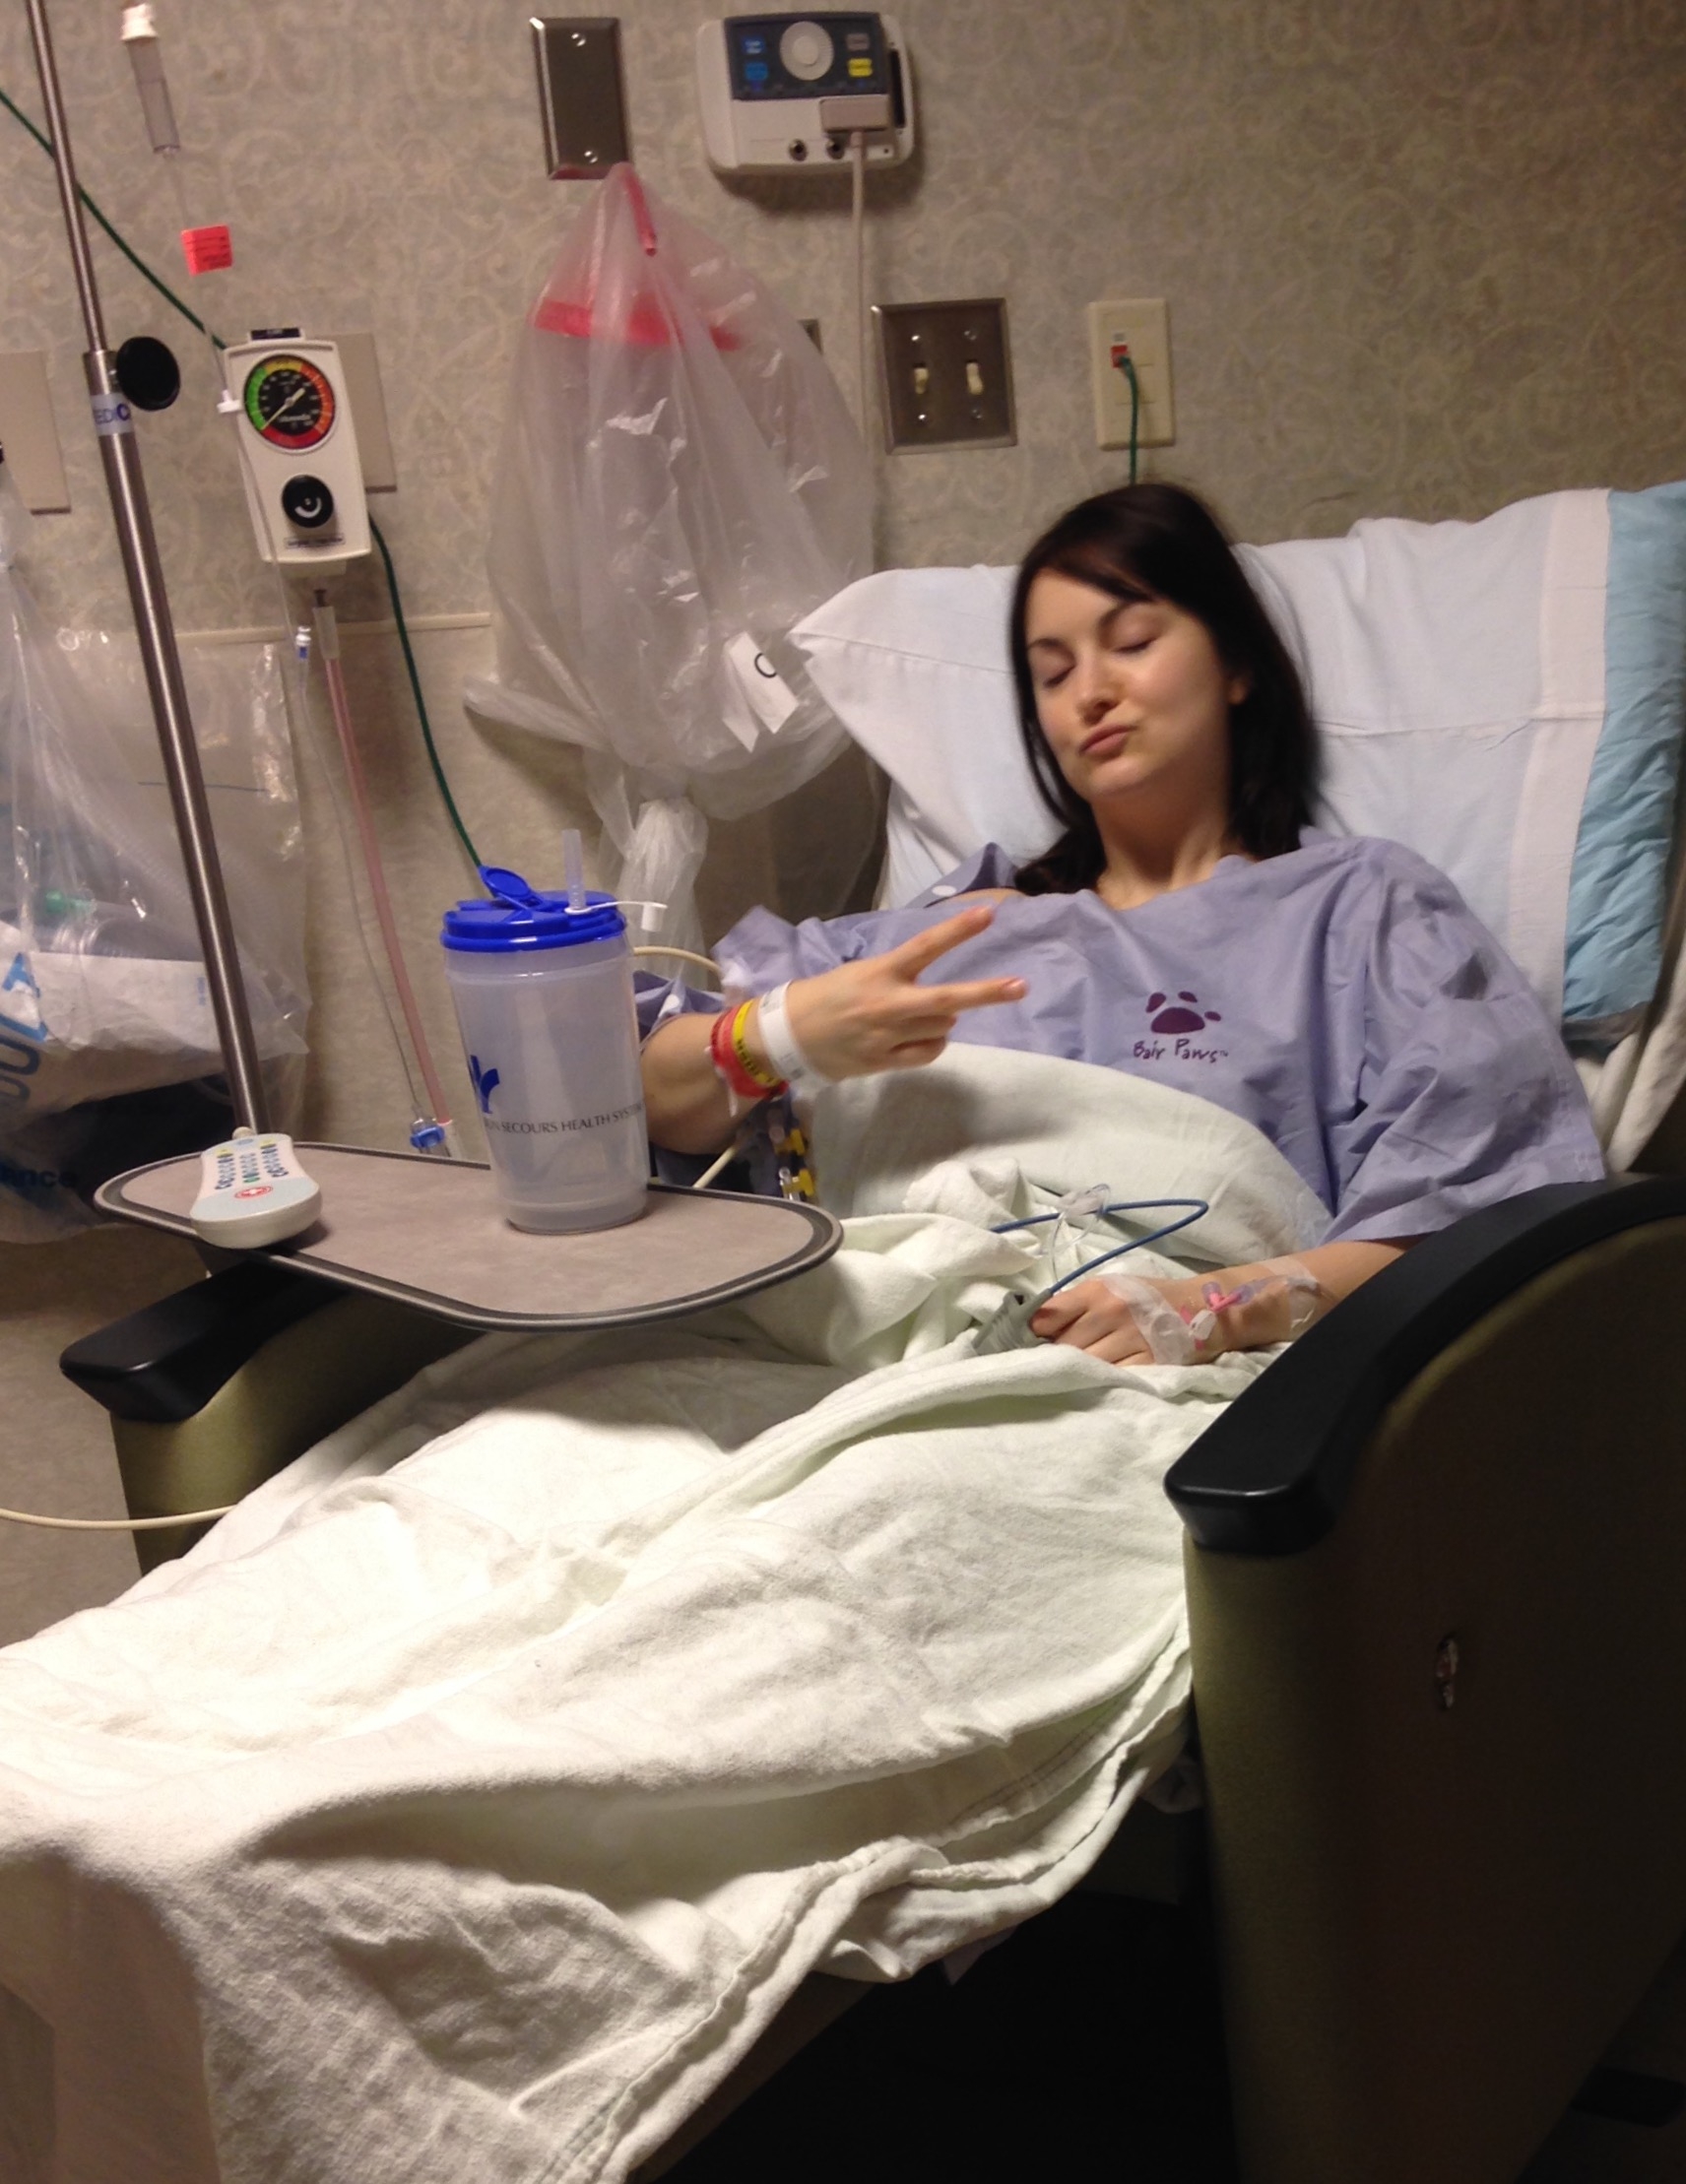
Finally, I packed a small bag to take to the hospital even though it was outpatient surgery.  I added a water bottle and a banana, which I devoured as soon as I was in recovery since I hadn't eaten in over 12 hours; cough drops, because intubation makes the throat sore; and some primping items like lip balm, face moisturizer, body creme, a brush and hair ties, and mints.  These items are definitely not necessary, but they made me feel more human again.

~~~~~

This is the LAST surgery post (if for some reason you actually want to check out the first, click HERE).  I'm off crutches and my cane, killing it in physical therapy, and am beyond grateful that I'm beginning to feel like my old self again, but without the pain.  If you or someone is you know is facing surgery (or any kind of medical thing), here's a quote that's keeping me motivated (c/o @jaimiegoodwin on Insta):

IMG_8725

Enjoy your week, and I can't wait to meet you back here to review a new product.  Don't forget to hang out with me on Intagram, Snapchat and Facebook @ElectraLane!

Earned It

IMG_9320.jpg

While I am not affiliated with or sponsored by any of the beauty products I feature, I do receive a professional makeup artist discount on several of my favorite brands. There are a few items that I've found, though, on which I do not get a discount, and they are worth every penny.  And they cost a lot of pennies.  For me, the La Mer The Treatment Fluid Foundation, the YSL Rouge Volupte Silky Sensual Lipstick SPF 15, and the Drunk Elephant C-Firma Day Serum are are game-changers, and I'm so excited to share why I think they've earned their price tags.

La Mer The Treatment Foundation

FullSizeRender (3)

At $85, one would expect this to be a miracle product.  It is...IF it's right for your skin.

Before you get mad at me, remember that the best foundations out there - the ones you continuously hear about being used on red carpets (like Armani Luminous Silk) - are very sheer.  Real talk?  If you want everything on your skin covered up, you must use a full-coverage foundation, and it will be very noticeable.  I always say that there's no such thing as good makeup without good skin, and if you want the best skin you can have, you MUST drink lots of water, keep sugar/dairy (which is sugar)/processed foods at a minimum, and have a proper skin care routine.  It's science.  Some people will have better skin than you, but some will have worse skin than you.  Embrace what you have because no amount of makeup will make wrinkles/pimples/dullness/uneven skin go away.  Only caring for your skin and a healthy diet will do that.

Also (and if you're still with me...thanks), this product needs swatched in person because the shade range is very limited and has yellow undertones.  But that's why it works for me - I have a hard time finding a *perfect* match since my skin has so much yellow in it.

I can justify this purchase because not only it is perfect match, but the stuff that directly touches your skin is the best area to spend your dollars.  If this sounds like it would work for you, know that it is the perfect lightweight, long-wearing foundation for every day wear that positively makes skin  G L O W  while protecting it with lots of good-for-you ingredients and SPF 15.  Just 1/2 of a pump covers my whole face and somehow transforms my skin into a bright, alive, awake base for the rest of my makeup (which you can see here and in the photo below - and remember that I'm still recovering from surgery where my skin really took a hit).  This is also an excellent product for mature skin as it is so light and hydrating that it won't settle into creases.

I've used it for five years, and it's still my favorite.

YSL Rouge Volupte Silky Sensual Lipstick SPF 15

IMG_9323

This one took me a while to buy.  Years.  Because I absolutely could not justify the $37 price tag.  After reading and hearing and seeing so many success stories, I bit the bullet (no pun intended) and purchased this in the color 1 Nude Beige.  And after the first swipe, I sent one my BFFs a text talking about how life-changing this was. This color is magic.

IMG_9328

At first glance, I was worried that I'd run out of product pretty quickly, but it is so pigmented that a quick swipe is all I needed for the next several hours.  I'm not going to claim this is super long-wearing - if you have lunch, it will mostly go away - but with properly prepped lips and no eating or drinking, you're golden.  Just like the beautiful packaging.

Drunk Elephant C-Firma Day Serum

FullSizeRender (2)

Remember all that ranting about a great skincare routine above?  This is one of the best additions to that routine I've found.  I've used a vitamin C serum for some time thanks to its gazillions of amazing properties (Goggle it), but the one I was using, the SkinCeuticals C E Ferulic, wasn't perfect.  As soon as my bottle was empty, I decided to try this - it exceeded expectations.

Since we're talking about price tags, the SkinCeuticals  serum sells for...wait for it...$162.  This one retails for $80, so that made me really happy.  Other wins: it doesn't really have a scent while SkinCeuticals smelled like hot dogs (so awful), it soaks into my skin so much quicker, the ingredients are better, and my skin is clearer and brighter.  So basically, it does everything my old serum did but much better - on my skin and my wallet.

~~~~~~~~

I'm like Noah from The Notebook - when I love something, I reaaaaally love it.  These are three of my forever loves, but I'm completely aware you might hate them.  And that's okay.  Because skincare and makeup is such an individualized thing.  Snap me (ElectraLane) or let me know in the comments section of Instagram (@ElectraLane) what your makeup and skincare loves are, and have a great week.

Color Pops

IMG_9406.jpg

So Saint Patrick's Day is tomorrow, and you decide to incorporate some green into your makeup.  You do a Google search and find lots of really cool ideas if you were gong to the club, but you're going to the office or to a play date and you don't want to scare anyone. Let me introduce you to what I'll call the "color safe" zones.

The outer corner of your eye and the bottom lash line are both relatively innocuous areas where you can add subtle pops of color while keeping the rest of your makeup neutral.  Obviously, if you're going for neon or very intense colors some adjustments might need to be made, but you'd be surprised what you can get away with in these color safe zones.

Better still, no special equipment is needed.  All you need is a small, clean brush and a colorful eye shadow...I'm using Humid by MAC and a plain, old eye shadow brush.

FullSizeRender (3)

Under Eye Pop of Color

Simply line your bottom lashes with a colorful eye shadow while doing a typical lighter color shadow on the lid and a mid-tone shadow in the crease.  Even if you don't regularly wear eye liner, you might want to at least apply a darker liner at the upper lash line for balance.

FullSizeRender (4)

You can absolutely use an eyeliner, but the reason I like using a shadow is because powders are less inclined to run.

Outer Corner Pop of Color

Starting with a typical lighter-on-the-lid-darker-in-the-crease eye shadow look again, take a small brush, fill it up with your color of choice, and place it on the outer corner. Next, sweep inward and down forming a right triangle (strait edge is the outside of your eye and the point is towards your inner corner) so the color diffuses about 1/3 of the way in.

FullSizeRender

You can do both techniques separately or even at the same time (pictured below) - and if you want color on top and bottom, don't be afraid to try two different, complementary colors.

FullSizeRender (1)FullSizeRender (2)

~~~~~~~~

Whether or not you're celebrating tomorrow's holiday, I do hope you'll give some color a try.  Even if it's subtle, it will make you feel adventurous - and that's one of the best things about makeup!  Keep in touch @ElectraLane on Instagram and Snapchat, and I'll meet you back here next week to share my favorite makeup and skincare splurges.

For Better or Worse: Farmacy Soothing Sheet Mask

image.jpeg

When it comes to at-home face masks, I believe the best formula is to spot-treat.  For example, eye patches for under-eye puffiness and hydration, a clay mask on the T-zone, and a hydrating mask everywhere else. But that's the dream (well, the dream is to have a standing appointment at the Spa de La Mer in NYC...), and in reality, I'm lucky to have the time/discipline/patience to do a weekly mask at all.  Enter: the sheet mask.

If you haven't already, you must try a sheet mask because it is an easy delivery system for potent, healing ingredients  - Sephora has their own, reasonably-priced brand that is great for first-timers.  You can find a sheet mask for any issue, and as a bonus, there's almost always enough left-over product in the mask's packaging that you can use it as a serum.

So recently, I tried the Farmacy Hydrating Coconut Gel sheet mask in the "soothing" variety, purchased here.

IMG_9012

It's $24 for three masks, and there are several additional varieties including Oil-Control and Anti-Wrinkle.

The Better:

This really did soothe my itchy winter skin, so points for that.  Also, there was an incredible amount of the serum left within the packet.  I had enough to smooth not only on my face, but also on my entire body.  After about 30 minutes, my skin was more plump and glowing without feeling slick, and I was pleasantly surprised that my skin was still hydrated the next morning.


The Worse:

While it was a lovely mask, and the ingredients are top-notch, I get better results from a slightly less-expensive mask (this one).  Also, the packaging is confusing.  The mask sits between a blue film and a paper-like sheet.  The directions instruct me to remove the blue side, but not the other, so I left it on.  When I posted the above photo on Instagram (@ElectraLane), Farmacy actually reached out to let me know I needed to remove the paper layer.  Awkward.

The Verdict:

This is a great mask.  If you're willing to spend $8/mask, go for it.  I probably will not repurchase because I already have favorite premium-ingredient sheet masks (La Mer and SK-II), and as stated before, I get even better results from a cheaper version.

One Palette Three Ways ~ Smokey

IMG_8341.jpg

It might be hard to believe, but we are down the the last three colors in my Urban Decay Naked 3 palette!  Since we've already done a halo and dramatic eye, let's do a traditional smokey look.

We're using Mugshot as the darkest color, Buzz in the center, and Burnout to blend.  I love to remind my clients that just because you do a smokey eye technique, you can still use soft colors.

Here's the video tutorial with step-by-step directions below:

I started with a little concealer and translucent powder to prep, then started with the darkest color, Mugshot.

Line upper lash line

With a smudger, like this contour brush from e.l.f. cosmetics ($3!), apply your darkest color to the top lash line.


Blend into crease

Take your typical eye shadow brush (MAC 239) and add your mid-tone shade (Buzz) to the lid and up into the crease.

Blend edges with lightest shade

Taking a small blending brush (MAC 221) and your lightest shade (Burnout), blend all the edges so the color disappears into nothing.


Smoke out under eye area

Starting with the smudge brush and a little of your darkest shade, start from the outside corner and work your way in under the lower lash line so the color is darkest on the outer corner.


Then, starting with your blending brush and the lightest shade, work from the inner corner to the outward and blend the two shadows.

Add liner, curl lashes, apply mascara, and voila:

IMG_8315

IMG_8329

~~~~~

I hope you enjoyed this series and that you finally get full use from those eye shadow palettes.  What else what you like to see?  Reach out @ElectraLane on Facebook, Instagram or Snapchat and let me know.

P.S. Please disregard my messy bangs in these photos - I do makeup, not hair. :)