Mass Confusion Part II: Conceal/Highlight/Illuminate

GetAttachment-5.jpg

Welcome back, and thanks for sticking with me. Last time, we talked about contouring and bronzing.  Now, we’re moving on to concealing, highlighting, and illuminating.  Here we go…

What does a concealer do?

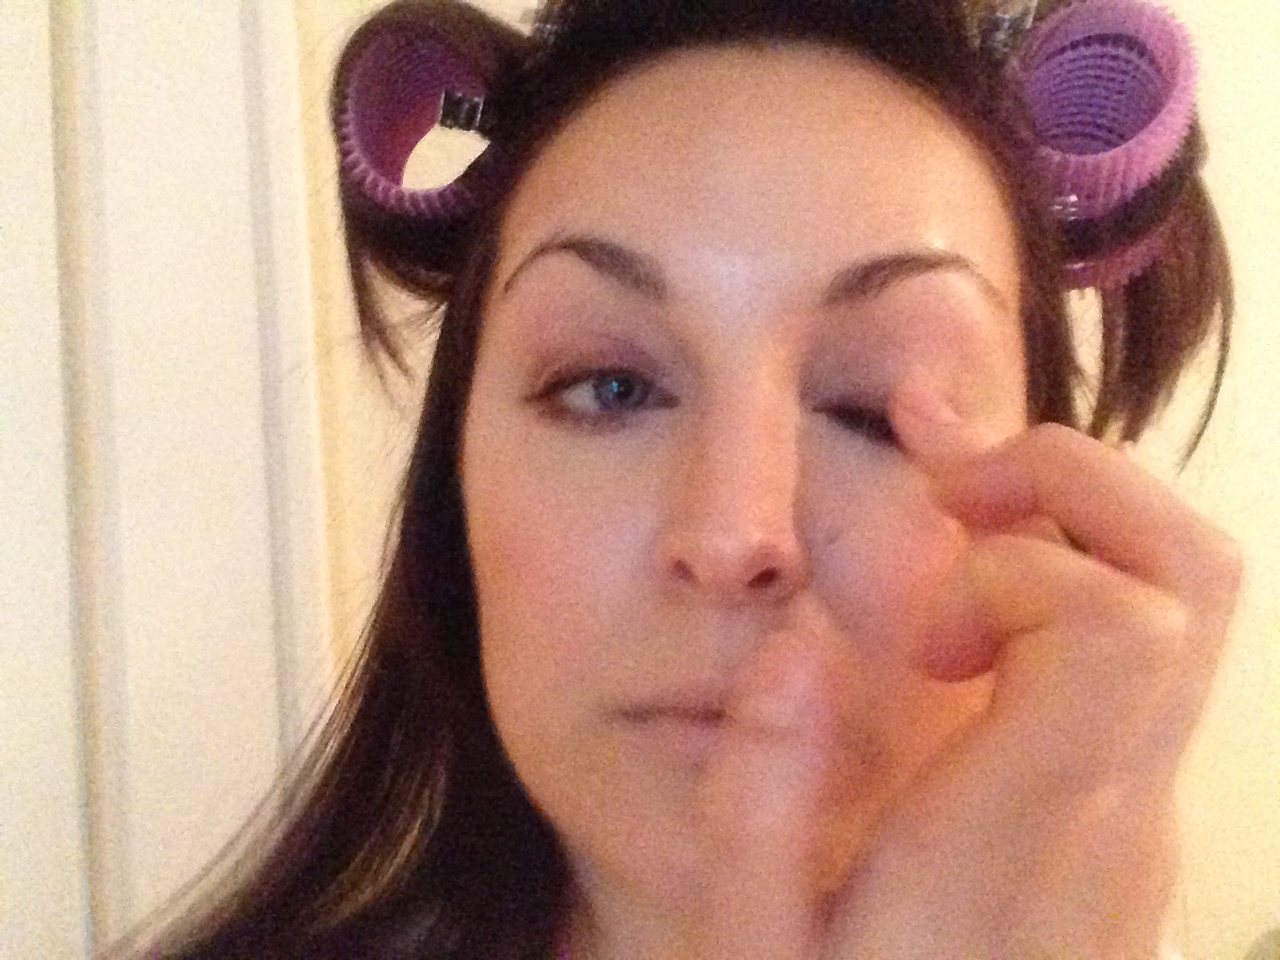
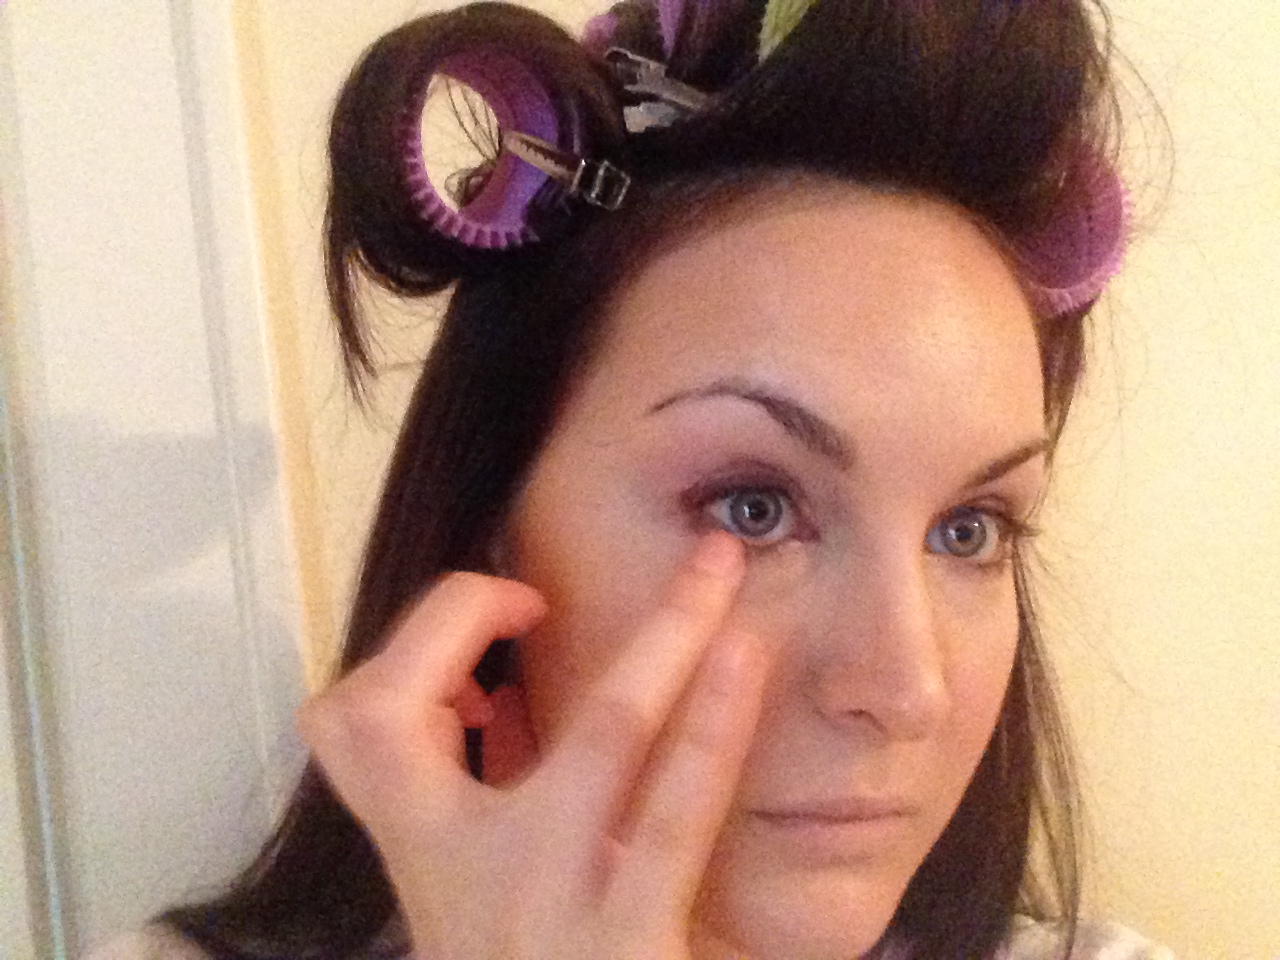
It conceals. Under eye darkness, redness around the nose, blemishes, redness in the skin…my favorites are liquid and cream products, and it’s best to have two separate concealers in different colors – one a little lighter than the skin to conceal dark under eye circles, and one that matches the skin to cover redness and blemishes.  It goes on after foundation (in most cases...we'll get into that later).  Depending on your skin and the concealer’s formula, you could just use the under eye concealer as a highlighter.  If you don’t need concealer, don’t use it!  It’s one of those products that’s tricky and can look cakey, dry, exaggerate fine lines, and can actually make the area look darker.

What does highlighter do?

Highlighter tricks the eye into thinking there is light on the face even when there isn’t.  Another way to think of it: all the special lighting they use in photography and film?  This is a cheat for that when you don’t have special lighting.  Typically, areas to highlight are in the center of the forehead, down the center of the nose, under the eyes, around the nose and mouth, and the center of the chin.  If you don’t have dark circles, you can just use highlighter to brighten that area without any extra concealer.  Highlighter also goes under the name of brightener, and comes in liquid, cream, and powder forms.

What about illuminator?

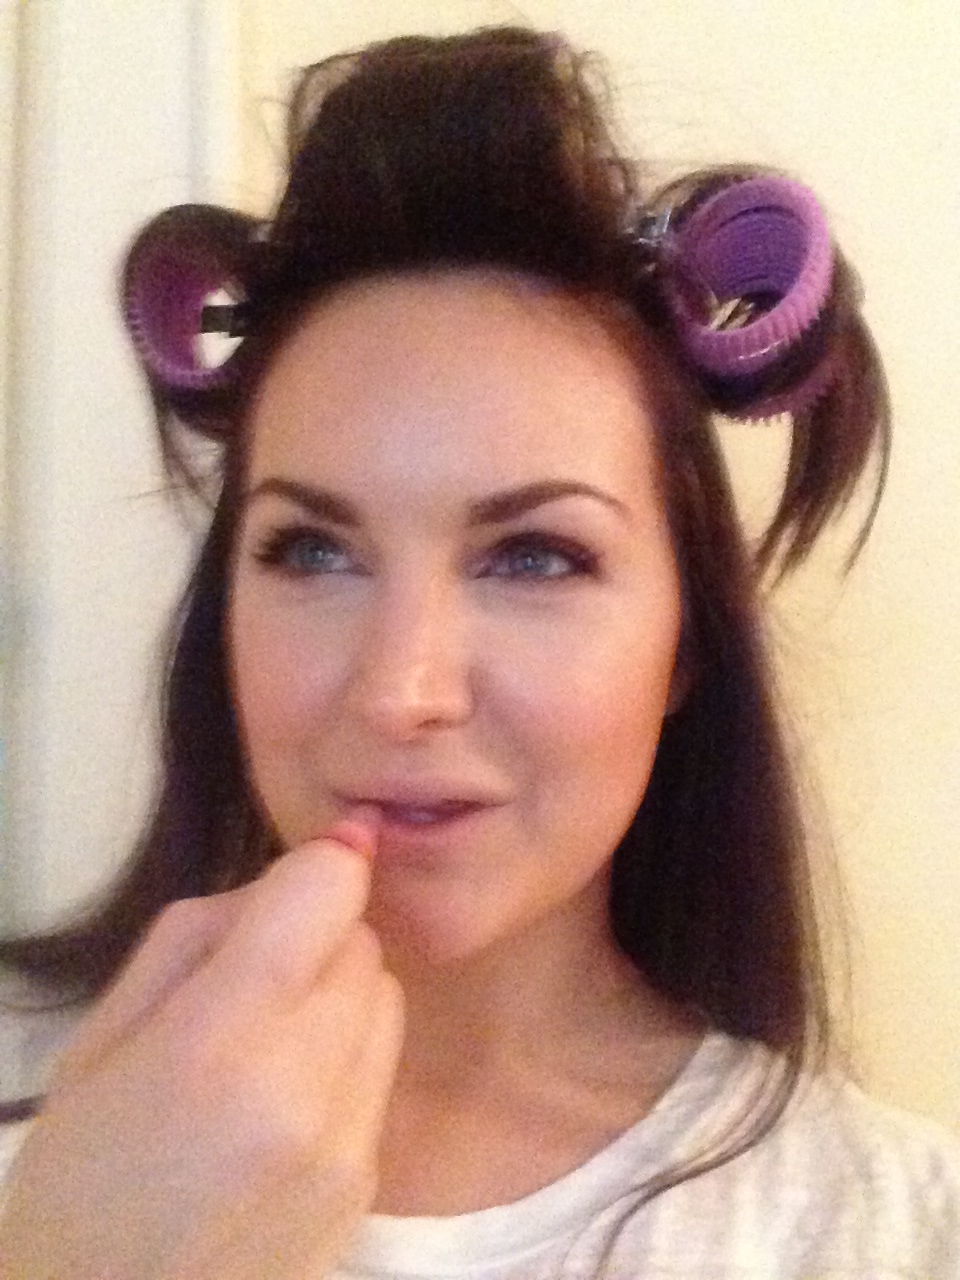
Illuminator, also known as luminizer, and sometimes referred to as highlighter, has light-reflecting particles that brighten up an area when the light hits it. I usually only place this product just on the tops of the cheek bones; even if using a powder version (though I typically use liquid or cream), it could make other areas look oily.

I made this video to demonstrate. Remember, this is just the general idea – contouring, highlighting, and everything else, is incredibly individualized and, like basically everything concerning makeup, should be customized for occasion, longevity, and so on.  We’ll get more into the details in time but for now, have fun experimenting.  If you want another take, check out this how-to from Byrdie.


Mass Confusion Part I: Contour vs. Bronzer

GetAttachment-4.jpg

Get comfy, grab a cup of hot cocoa, and let me apologize for this long, rambling, multi-part post. Highlighting and contouring has become such a fad, and it is the number one thing I am asked to teach. Countless YouTube videos and products are dedicated to this technique, but I have yet to find one of either that expresses my take on it.  In this two-part blog, I’ll explain my version, starting with contour, in very broad terms.  I’ll break it down further in future posts and videos.

What is contouring?

Contouring is the process of defining or creating receding areas of the face to give it definition. That’s it.  Areas typically contoured are the hollows of the cheeks and eyes, down the sides of the nose, around the perimeter of the face, and down the center of the neck.  I do some form of contouring every day because I like it, but I promise that you can live a very long and happy life without it.

Where things start to get confusing is when we try to figure out the difference between bronzing and contouring. Bronzer is meant to bronze the skin as if you had been lying out all day and were bronzed (slightly reddened) by the sun, which as you probably know, happens on the high points – not the hollows – of the face.  This is why I like to keep my bronzer and contour separate.

So can you use your bronzer to contour?

Absolutely.  But I have a different bronzer for contour and one for bronzing.

What the heck is the difference?!?!

(Precisely why this is a post entitled “Mass Confusion”). It comes down to the undertones in the product. A product with more grey for contouring will create shadows, while a product with more red for bronzing will mimic what the sun does to your skin after a day at the beach.

So can I use the same product as contour and bronzer??

Yes and no (insert hair-pulling): yes you can, but not at the same time. I mean, you can do whatever you want – it’s makeup – but have you ever seen people with what looks like giant brown rectangles on the sides of their faces? That’s what happens when contour and bronzer collide.  I’ll contour with my red-ish bronzer and forgo the contouring product depending on the look I want to achieve and how tan I am.  I’ll rarely use a contouring product to bronze, though, because that’s where it’s really easy to get into muddy- or dirty-looking territory.

Another option is to contour with one product and bronze with another, using the bronzer in place of blush (remember we still have to highlight, and there’s only so much room on the cheek, so while you can contour, highlight, bronze, and use blush, but that can be a bit much).

A third option, especially if you want to use blush, is something I do commonly for special occasions: contour for definition, add blush and highlight, then set the highlight with highlighting powder (more on that in the next post), and lightly set the perimeter of the face with bronzer instead of powder.  Here’s a video of this process.

TO RECAP:

  • Contouring defines features and just about any product can be used
  • Bronzing is meant to make you look like you’ve been in the sun; use a bronzer for this
  • You can contour with bronzer but cannot bronze with contour (this is my “rule” and is probably disputed by far greater minds than mine!)
  • You can just contour, just bronze, or do both (or neither)
  • Replace an overall setting powder by setting with highlighting powder on the inside of the face and a bronzer around the perimeter

That’s enough for now. Take a deep breath, re-group, and I’ll meet you for Part II.  May the force be with you.

Dirty Thirty

205.jpg

Today is my 30th birthday.  And I am going to party like it’s my birthday. 097

Husband is taking me to NYC.  It’s where I turned 20 because I lived there at the time, and I suspect I’ll turn 40 there…and 50…unless we move back and I spend every birthday there…we shall see.  Anyway, I’ll be gorging myself on all the food I so miss eating, and maybe mix in some new things like a cronut.  We’ll also catch On the Town (husband’s first Broadway show!) and just meander around my old haunts.  I love New York in the fall.

170

For night-out makeup I’ll do a smokey eye with warm browns (NARS duo in Surabya) and my favorite nude lip (Armani Beige 100), but I’ll keep it fresh for the day. And since 30 is (at least supposed to be) a milestone birthday, I’ve decided to work on this list.  Here’s what I have so far…

Go-To Drink:

Champagne

Go-To Karaoke Song:

I don't do karaoke, but I'm one heck of a backup dancer

Uniform:

A tee and jeans with a statement necklace or scarf / pencil skirt and blouse / shift dress and heels

Hair Stylist I Love:

In VA, Sean at Gabba Gabba.  In MD, Leslie at GLOW.

Exercise Routine:

Running and ballet/pilates/yoga 4-6 times a week

Hobby:

Makeup. Duh.

Best Friend:

Husband

Healthy Sense of Self:

Still working on it, but I’m happy with me.  It’s been a hard-fought battle, but all things considered, I have nothing but gratitude for the past 30 years and hope for the next 30 (and beyond).


Try

Electra Lane is a makeup business, and this is a makeup blog, but please please please know that makeup isn’t essential to being or feeling beautiful. Makeup is fun and therapeutic for me, but I don’t need it. I know this because I don’t feel bad or self-conscious if I go out without makeup…which, trust me, wasn’t always the case. We all have things we want to change about ourselves. My face is so very asymmetrical, I have an oddly long forehead, and don’t even get me started on my nose. Loving makeup or taking pride in your appearance doesn’t make you vain – obsessing over it does.  Anyway, whenever you don’t feel like you don’t measure up, just remember this:

Take your makeup off. Let your hair down.  Take a breath.  Look into the mirror at yourself.  Don’t you like you?  ‘Cause I like you.”

Try ~Colbie Caillat


Photo courtesy of www.galleryhip.com


Finger Painting

fpCollage.jpg

The other day I was running out the door when I realized that, after their monthly bath, none of my brushes were dry. So I used the original makeup brushes, my fingers.  Disclaimer: like many of my posts, this was unplanned, which means I was literally in a rush to get out the door (hence the curlers) and I was literally applying my makeup in my bedroom while trying to snap photos with my iPhone (hence the really poor quality).  We're all about keepin' in real real here at Electra Lane. While this isn’t enough color for me for The Work Appropriate, it would work for those who want a clean, low-maintenance everyday routine (it’s my perfect Minimalist).  I started by smoothing on tinted moisturizer (Glow), then I added a little cream blush (Anguilla) and blended upward

fp1

I took a liquid concealer darker than my skin (Amande) and dotted it on the sides of my nose and under my cheekbones, then blended back and up into the blush

fp2

fp3

Next, I took that same concealer, but in a shade lighter than my skin (Vanilla), and patted it under my eyes, around my nose and mouth, and in the center of my forehead and down the center of my nose.

fp4

fp5

This is where we are so far:

fp6

For my eyes, I added a thick line of warm brown eyeliner (Costa Riche) to the top lash line and just the outer corners of the bottom lash line and smudged gently with my ring finger

fp8

fp7

I filled in (Taupe) and set (Clear) my eye brows

fp9

Then added a brightener just to the inner corners of my eyes

fp10

Next, I curled my lashes and applied mascara (Blackest Black)

fp11

And added a little gloss (Bellini)

fp12

Finally, to set everything, I used a few spritzes of setting spray

fpFinal

Refinery29 wrote an article about no-brush makeup, and a new line, called Nudestix, has capitalized on the technique, so that might be a great option for those who want an ever quicker and easier routine. HRH Wayne Goss does a lovely demo and review of that line here.