One thing that remained the same over my 17 years as a dancer was technique class. No matter your level of proficiency, no one was ever above starting the day/rehearsal with a class in the basics. As a makeup artist, I've had the pleasure of working with a vast array of clients. Still, despite differences in skin color or age or skin type, I am consistently asked about the same three or four concerns.
So, I decided to combine these two topics into a series that will run through the end of next month to show you how I approach certain makeup situations.
Today, we'll start with the crease of the eye.
First and foremost - it is very important to manage expectations here. Every eye shape is different and there are a so many great blogs and YouTube videos on the subject if you want in-depth info. For now, we'll focus more on basic anatomy.
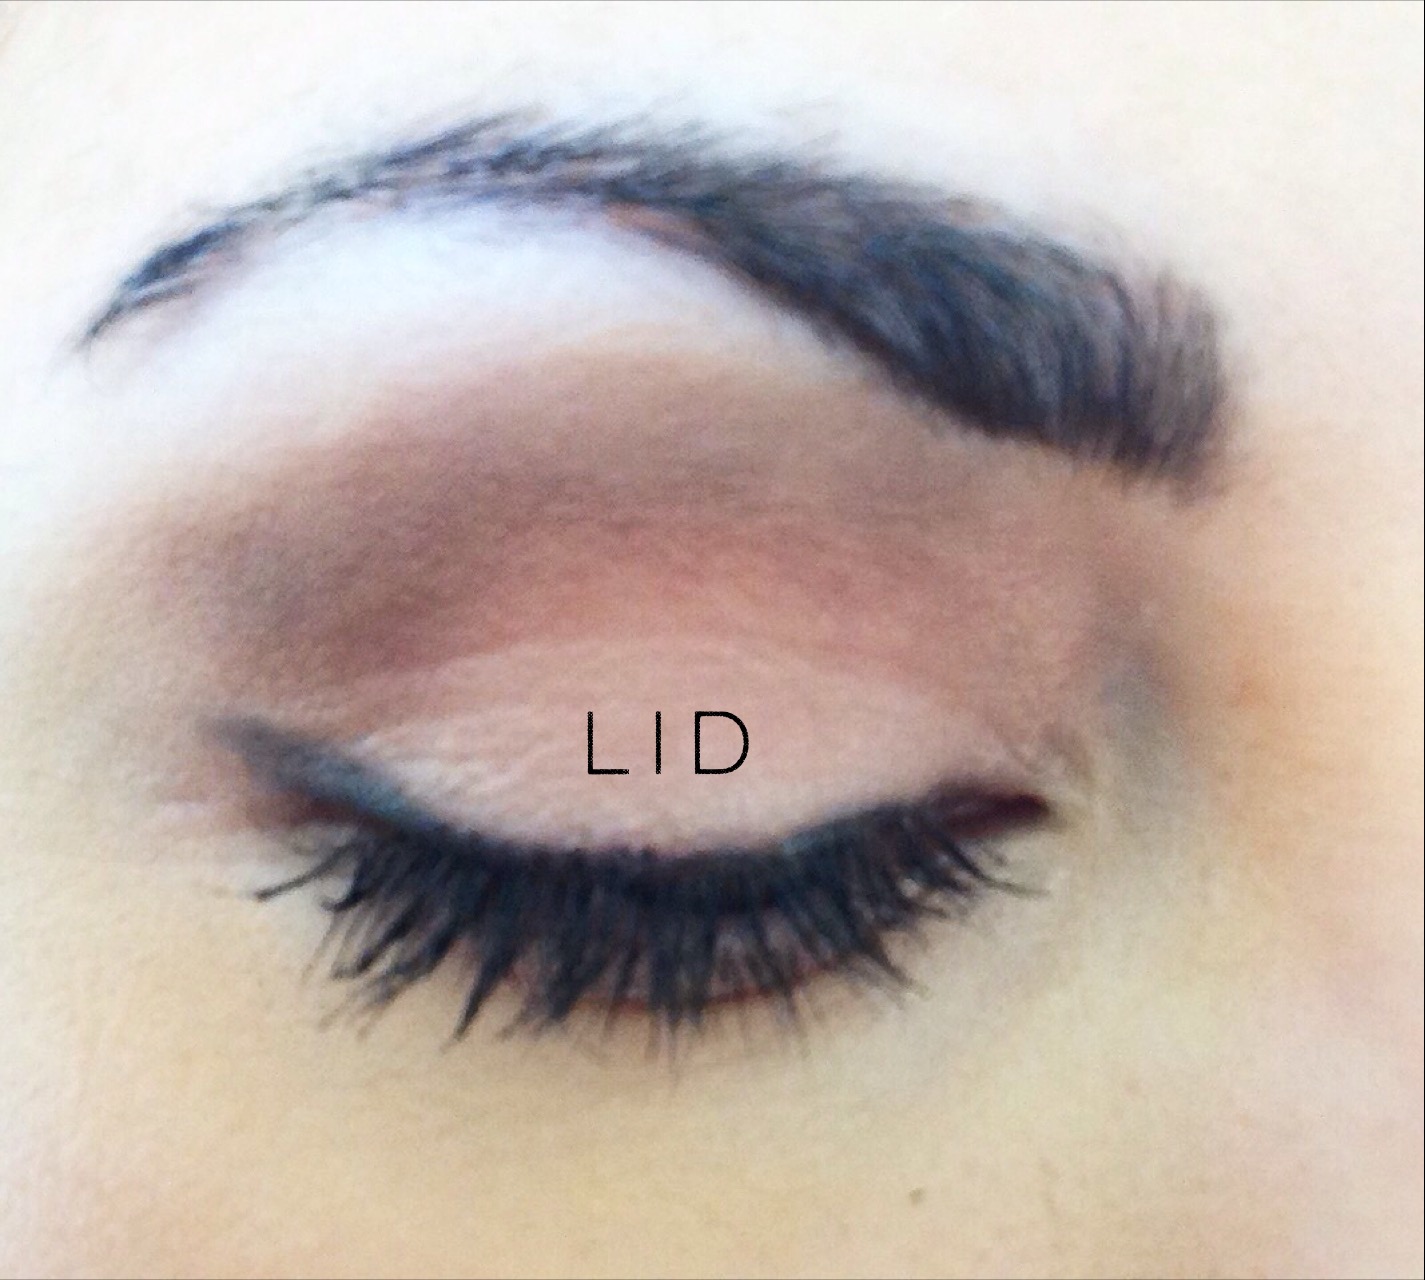
You want to get to know your eye, so figure out where the lid is:
Your lid, in terms of makeup, is the skin that just covers our eyeball.
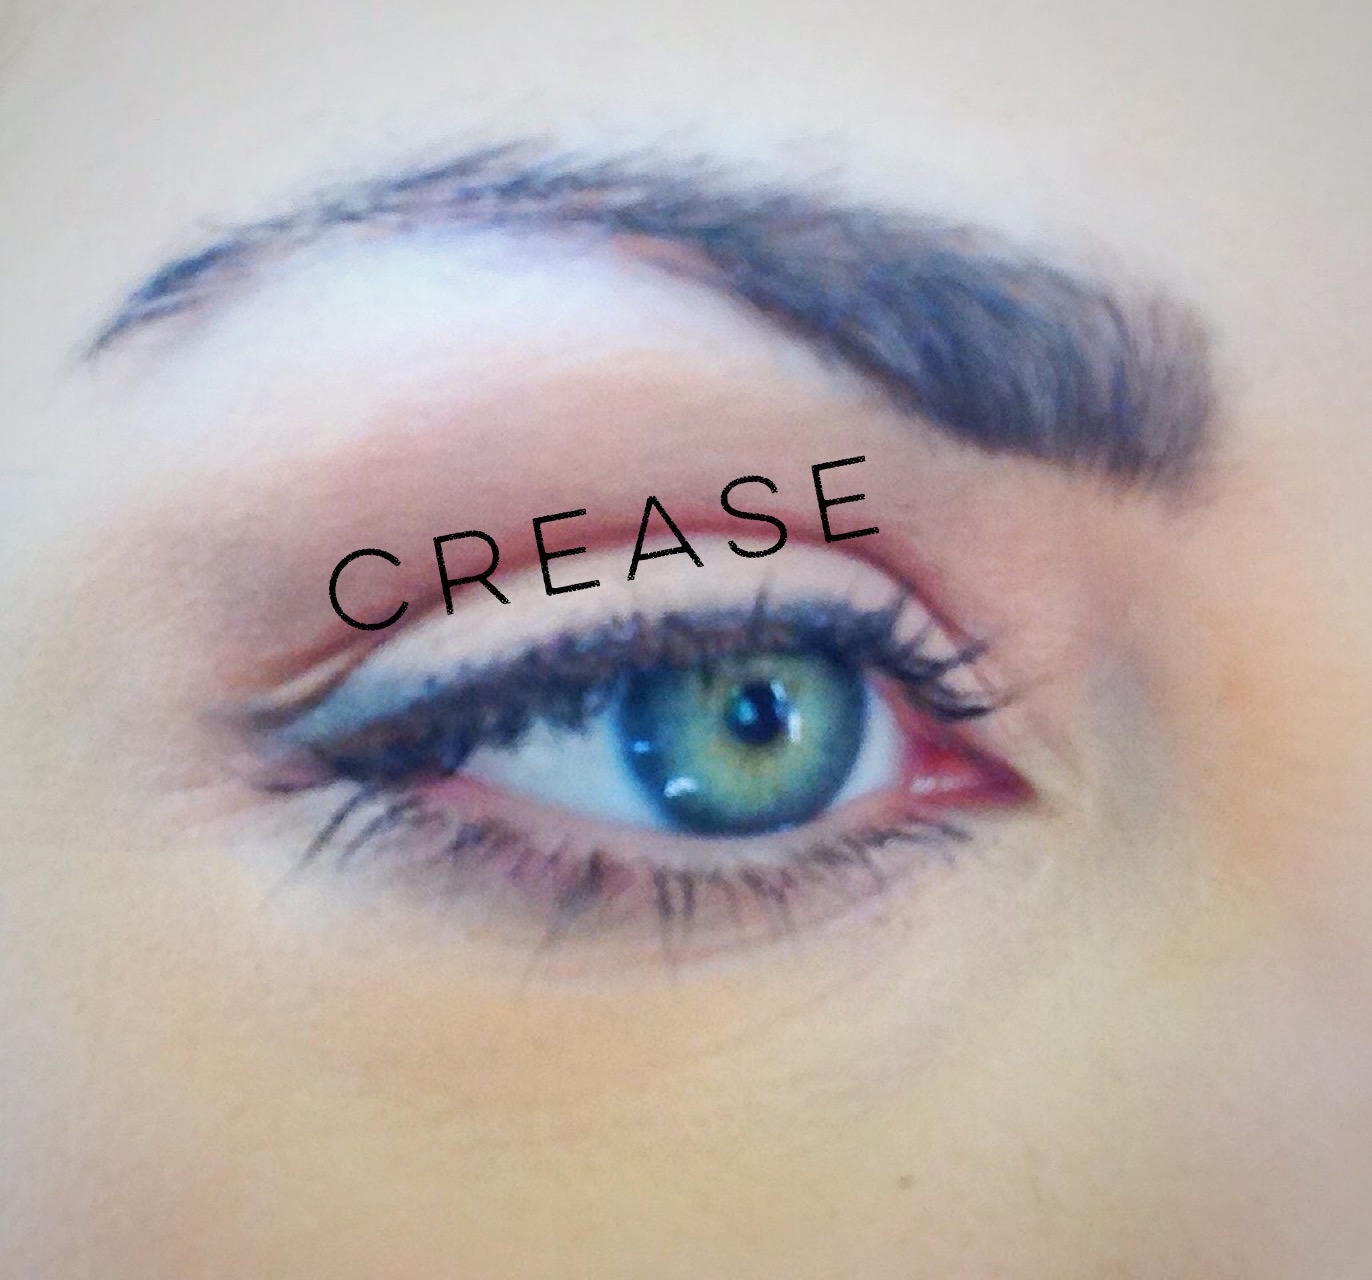
Where the lid breaks when you eye is open is considered your crease:
Not everyone has a crease, but that's fine! You don't need one. If you have a monolid, you can create one if you want to, and if you have a hooded lid, you'll just have to join the ranks of Giselle, Blake Lively, and Jennifer Lawrence (oh, darn) and focus on the lash lines.
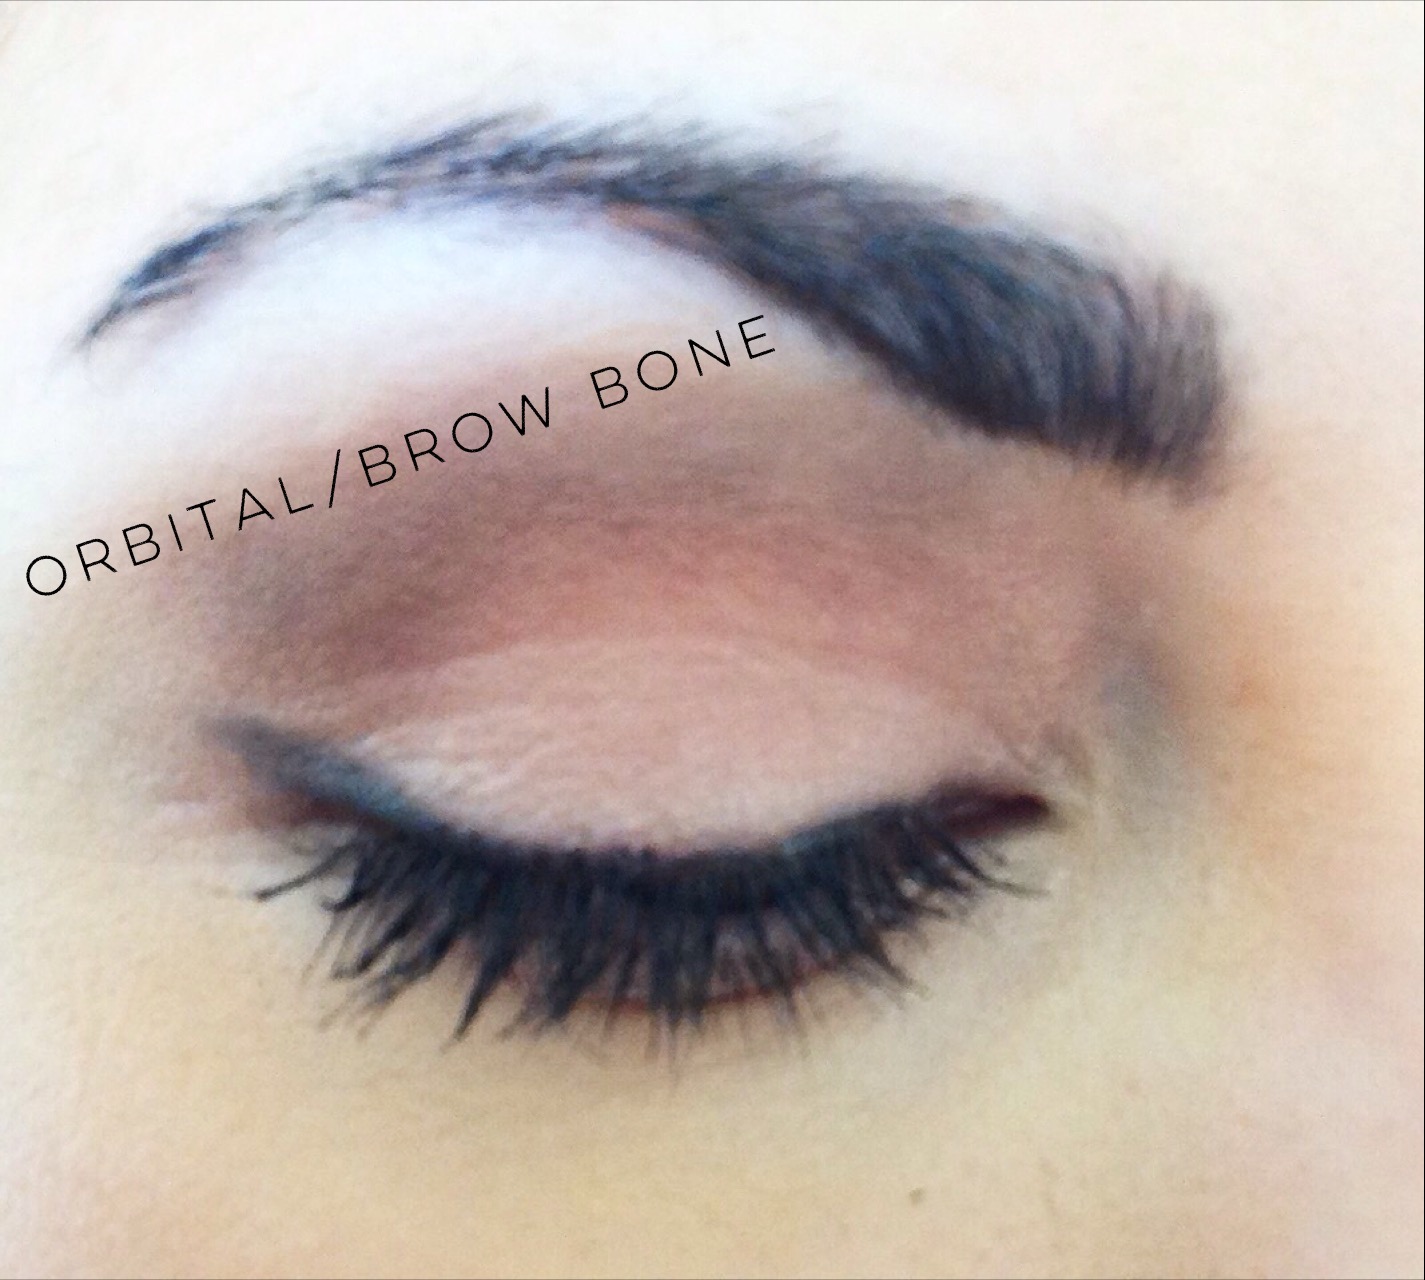
Next, find your brow bone, or orbital bone:
It's the bone that sticks out near your eye brow.
Everything between those two points can be considered the crease area:
If you do have a crease, your crease area will vary. I have a really large one - and if I fill it in with too much dark shadow, my eyes look closed; too little, my brows look too high. Some folks who have deep-set eyes only have a very thin area. It's all good!
We fill in our crease to make our eyes look larger because, as I show here, darker colors make things recede and lighter colors bring things forward; if that crease area recedes, the eye lid comes forward - making it appear larger.
When filling in the crease, start in the outer corner and sweep inward with a slim brush like the MAC 217, then blend the edges with a brush like the MAC 224.
Now that you know where your crease is, have fun creating new looks - and upload a photo to Instagram/Twitter with the hashtag #byoma so I can check them out!


