KISS

4-8-3.jpeg

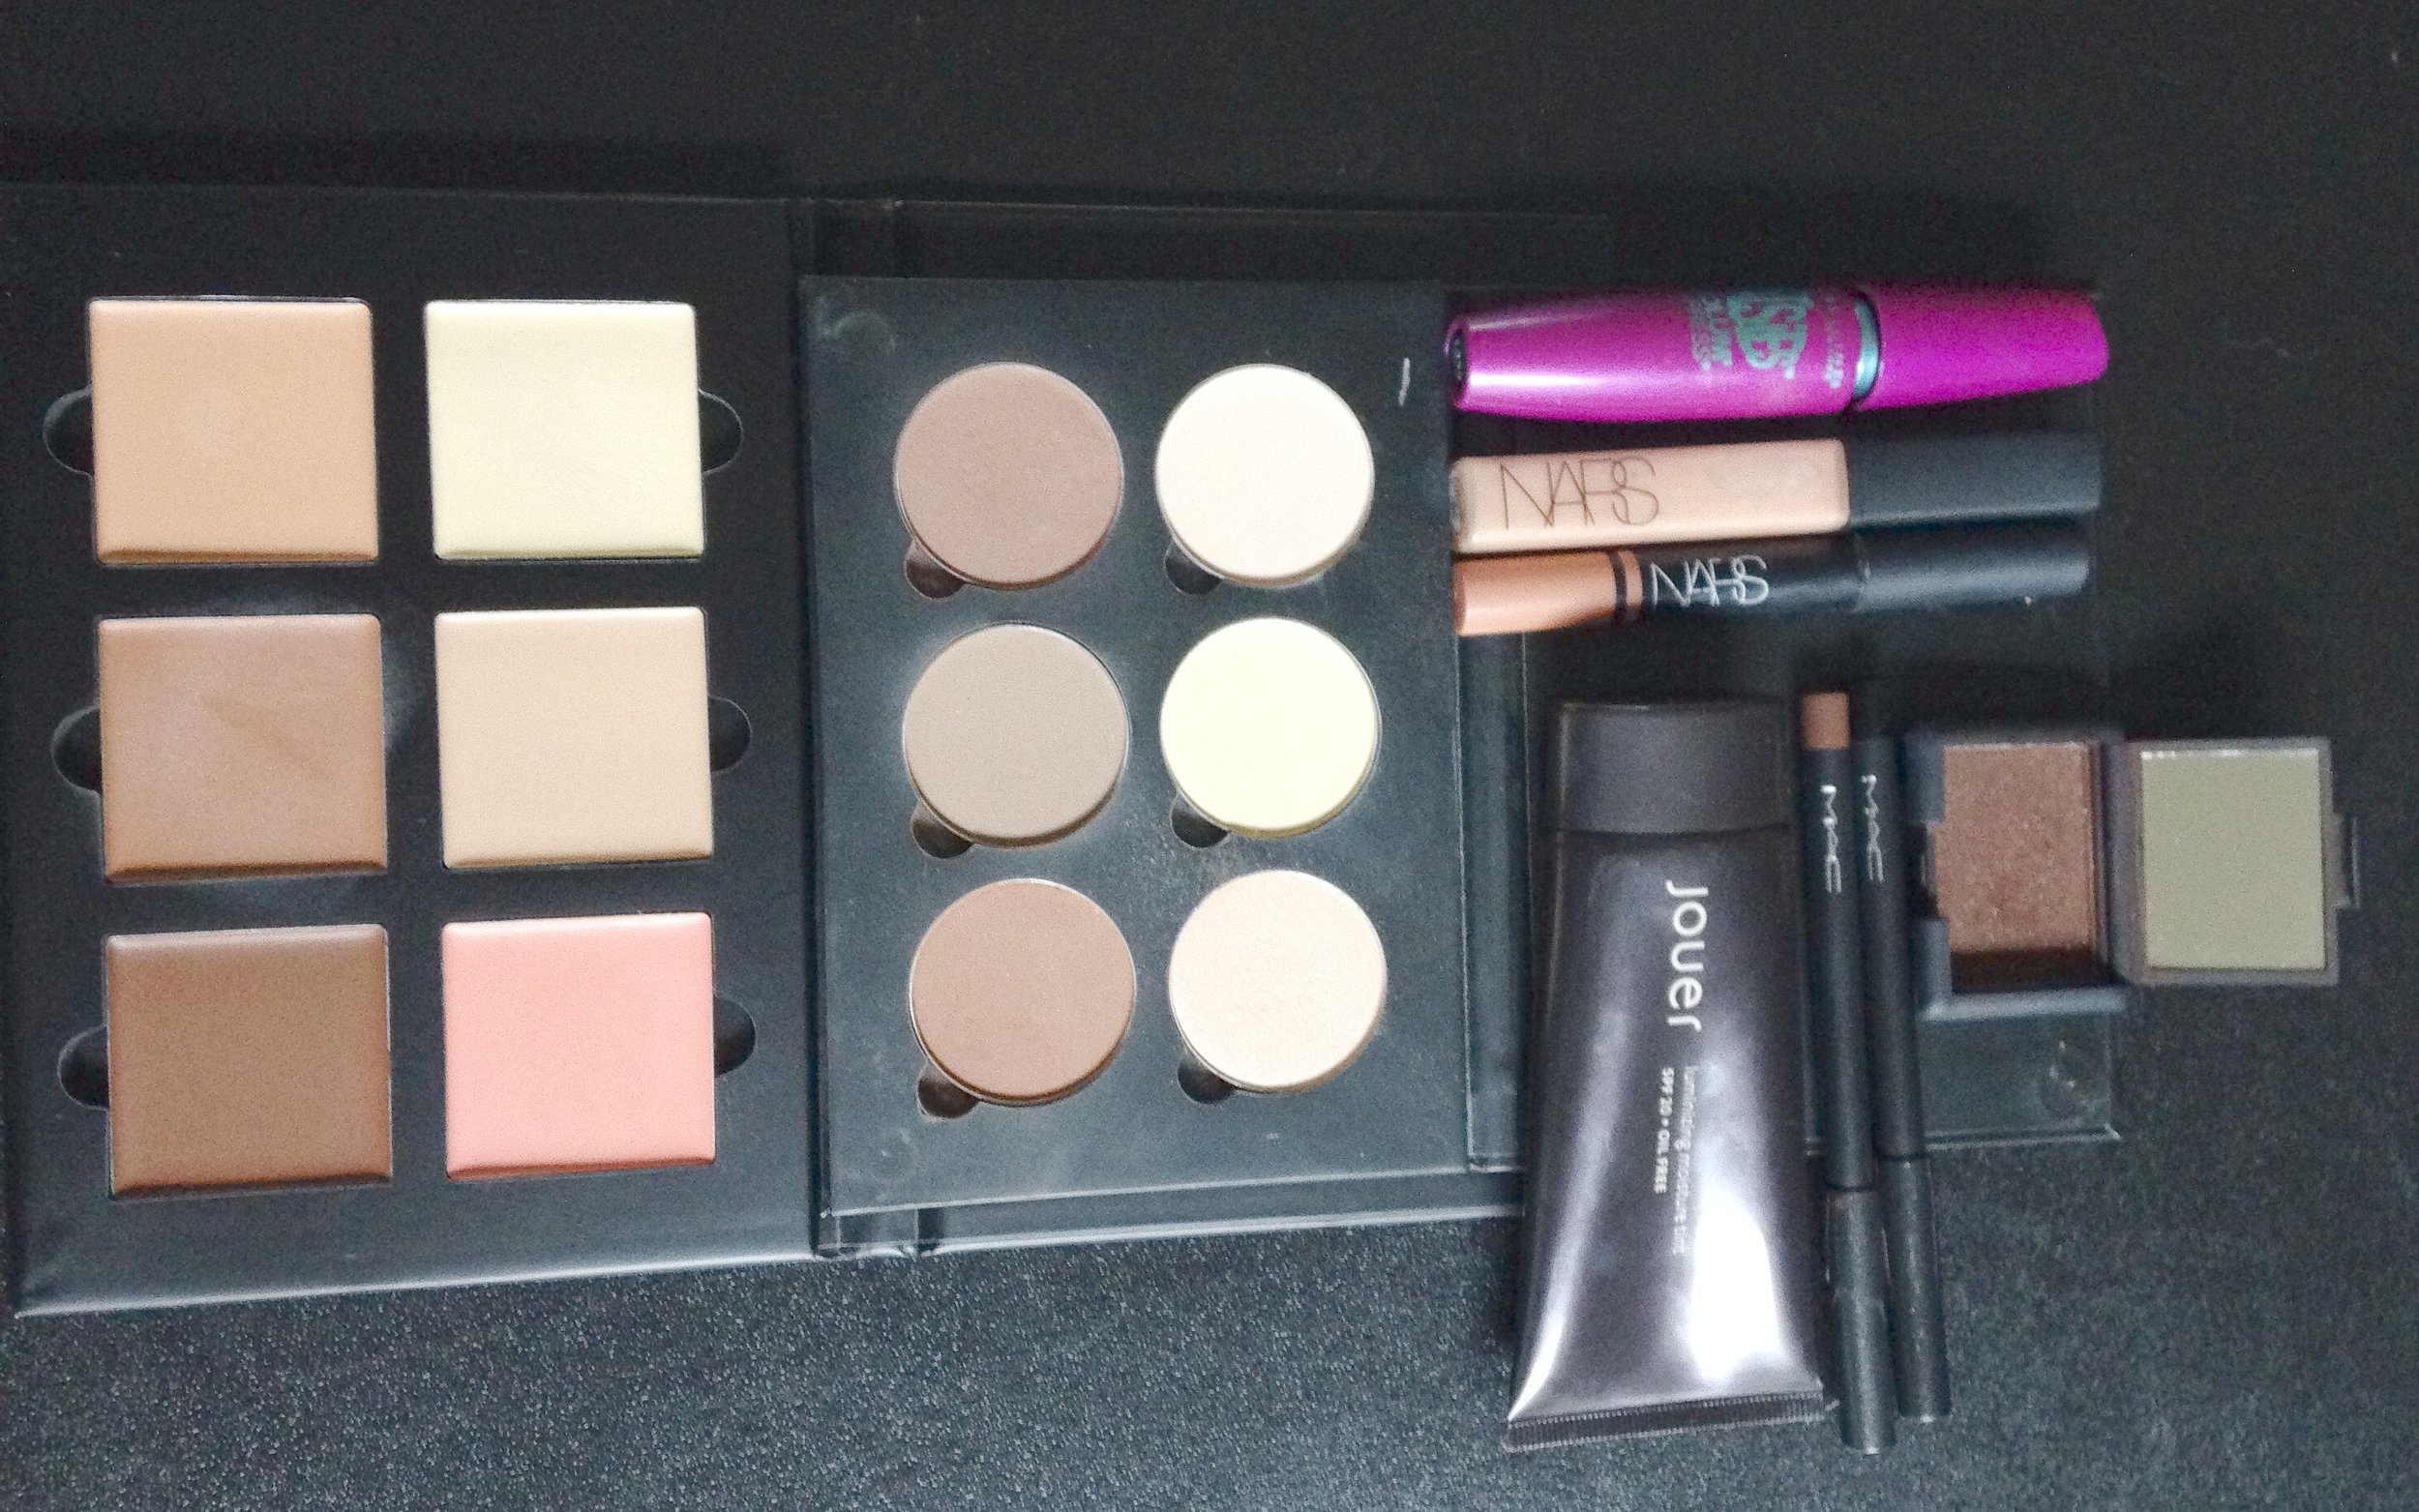
In high school, my freshman science teacher was also the varsity football coach.  When it came to written reports, he had one rule: KISS, or Keep It Simple, Stupid.  He meant it in good fun, and now as an adult I can also see that he didn't want to spend all of his free time grading papers. Makeup should, at least in my opinion, follow the same route.  I always aim to get the most bang for my buck, which is an ever-evolving process as I continually learn not only about makeup in general, but also my personal preferences.  Right now, that means a streamlined routine that brings out my eyes, that I can apply in 10-15 minutes, and that lasts all day with minimal to no touching up.

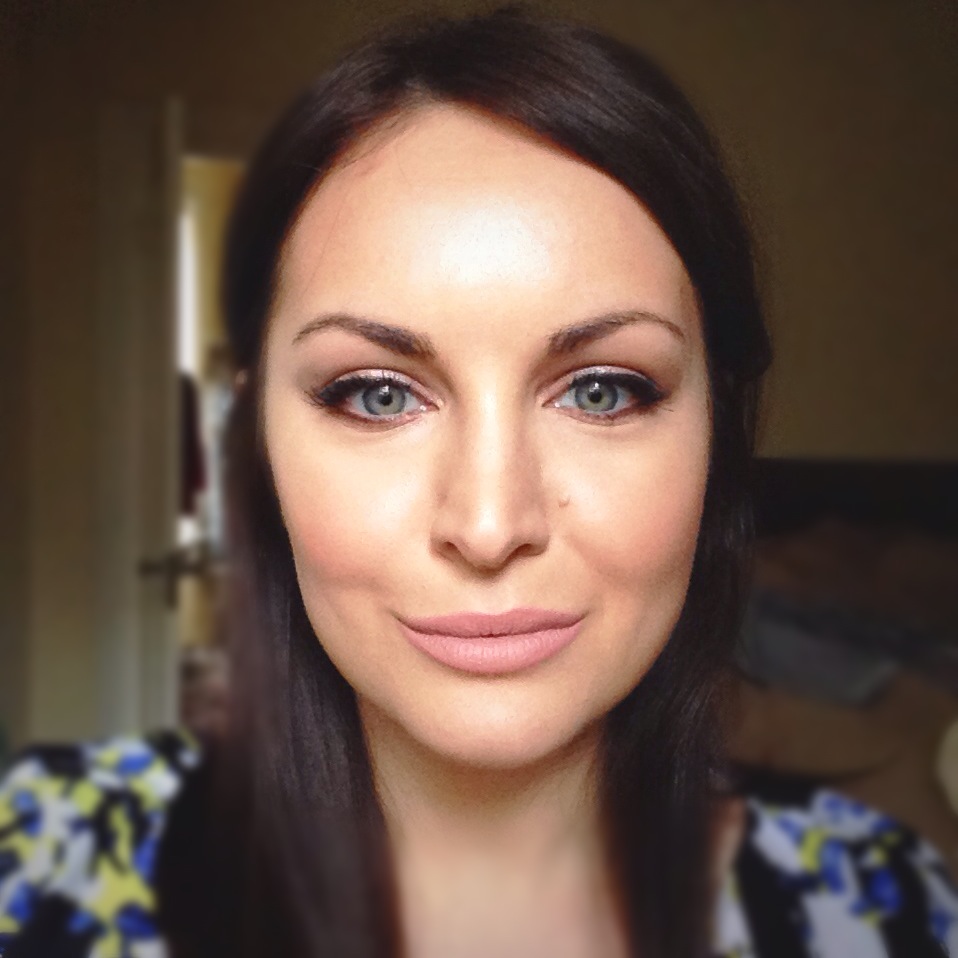
This is the finished product, and to see how I achieved it click HERE:

4-8-2


Spring Pink

3-11-1.jpeg

One of the many perks of doing makeup is that you have a lot of stuff to play with.  With all of those different products on hand, there is quite a bit of mixing to get the color of something just right.  Since Spring is officially upon us, here’s a little trio I combined for a perky lip.

  1. Apply a pale pink, matte lipstick (Anastasia Beverly Hills Liquid Lipstick in Milkshake)
  2. Line with a muted pink pencil (Burt's Bees Lip Crayon in Sedona Sands)
  3. Top with a hot pink gloss (Jouer Cosmetics Moisturizing Lip Gloss in Peony)

3-11-2

Brunch Makeup

abh2.jpeg

A couple of weeks ago I tried out my new cream contouring palette from Anastasia Beverly Hills.  I usually don’t like palettes because I end up using only one or two select items, but guess what.  Together, the cream and powder palettes from this line give you an entire face: foundation, blush, setting powder, highlight, contour, eye shadow, lips, concealer, corrector, and brows. abh2

Items left-to-right, then top-to-bottom:

  1. Anastasia Beverly Hills Cream Contour Kit in Medium:

abh3

  1. ABH Powder Contour Kit in Light:

abh4


  1. Maybelline Falsies Mascara
  2. NARS Lipgloss in Greek Holiday
  3. NARS Satin Lip Pencil in Floralies
  4. Jouer Luminizing Moisture Tint (this is my sunscreen, so you can skip if you get your SPF elsewhere)
  5. MAC Eye Kohl in Costa Riche and Smolder
  6. NARS eye shadow in Galapagos

Not pictured: Urban Decay All-Nighter Setting Spray

Here’s the finished product:

abh

Here are the steps:

  1. Apply tinted moisturizer all over face
  2. Blend the peach cream into apple of cheeks (I used my fingers for the creams)
  3. Blend a light shade of the cream under your eyes, around nose, center of forehead, and eyelids; use a corresponding powder to set
  4. Blend a dark shade of the cream in hollows of cheeks, down sides of nose, around jawline, and around hair line; use a corresponding powder to set
  5. Use an appropriate powder to fill in brows
  6. Apply a dark powder in the eye crease and a lighter powder just under the eyebrow and inner corners
  7. Apply the brown eye shadow to the outer eye corners in a sideways V and blend towards inner corners; apply same shadow under bottom lash line
  8. Apply brown liner to top lash line and smudge (or use one of the creams…this is optional, especially if you have a smaller lid area), then apply black liner to roots of lashes and add mascara
  9. Line lips with the pencil and push the peach cream into lips; top with a little gloss
  10. Set with setting spray (if you’re oily, blot with one ply of a tissue first)

{This post, like all the rest, is not sponsored – I’ll let you know if that ever happens.}

Going Bare

3-11-21.jpeg

Sometimes the most glamorous look is easy, clean makeup that you make a little special. I recently purchased the NARSissist Dual-Intensity Eyeshadow Palette and have been playing with it nonstop thanks to the creamy, super-blendable shades that may be applied wet or dry.  For this particular look, I used Himalia all over the lid and Andromeda to brighten.

That's why I love makeup.  A few simple tricks can instantly elevate a look (or your mood), and you don't have to spend an hour to get "on fleek" or whatever it is the young folks are saying these days...

Here's the final look:

3-11

And how I did it:

1. Tinted moisturizer

2. Concealer under eyes and around nose, cream blush, bronzer

3. Sweep a nude shade (I used Urban Decay Foxy) all over the lid and a slightly darker shade (UD Buck) in the crease

4. Spritz a shadow brush with water or setting spray, then apply a metallic nude (Himalia) to the lid

5. BLEND all the shadows with a clean brush

6. With a dry shadow brush, tap a shade that is much lighter than your skin (Andromeda) just on the center of the lid

7. Press a color that brings out your eyes (MAC Embark) into the bottom lash line, and blend with a slightly lighter color in the same family (MAC Antiqued)

8. Fill-in brows, then add black liner on top lash line followed by a lash curl and mascara

9. Apply neutral lips (Anastasia Beverly Hills Liquid Lipstick in Milkshake with Burt's Bees Lip Crayon in Samoa Sand)

10. Mist face with setting spray